How To Make Moving Wallpapers for Your Mac the Right Way
So you want to make a moving wallpaper. The basic idea is simple: find a video, make it loop, and use an app to set it as your background. But the real magic is in the details—using a modern, efficient video format like H.265 (HEVC) instead of an ancient, clunky GIF, and making that loop so perfect it messes with your brain a little.
Why Your Mac Deserves More Than a Static Wallpaper
You spend an unhealthy number of hours staring at your Mac. You're going to be looking at that screen anyway, so it might as well be interesting. A moving wallpaper isn't just a gimmick; it's a deliberate choice to make your digital space feel more alive.
This guide is about making that space a place you actually want to be. It's about crafting something that fits your mood, whether that's a calming nature scene for a stressful workday or a neon cityscape to fuel a late-night session of pretending to be productive. Think of it as a small act of rebellion against the default, boring desktop.
The Three Pillars of a Great Moving Wallpaper
The line between a mesmerizing background and a distracting, glitchy mess is surprisingly thin. It all comes down to three things. Get these right, and your wallpaper will feel less like a video playing on a loop and more like a window into another world.
-
A Seamless Loop: This one is non-negotiable. A jarring cut where the video restarts shatters the whole illusion. The goal is a loop so smooth you can't tell where it begins or ends. It's hypnotic.
-
High Resolution: Your Mac has a gorgeous Retina display. Feeding it a blurry, low-res video is like serving a gourmet meal on a paper plate. You need crisp, 4K footage to do it justice.
-
Subtle, Ambient Movement: The best moving wallpapers have gentle, predictable motion. Think of slowly drifting clouds, softly falling snow, or the steady flicker of a candle. The movement should add atmosphere, not steal your focus every time a new email ruins your day.
The point isn't to distract you from your work. It's to make the space where you work feel more intentional and alive. It's about personalizing your most-used tool in a way that feels uniquely you.
Creating a moving wallpaper is an exercise in curation. You're not just picking a picture; you're setting a mood. For more ideas on how to curate your digital space, the guide to finding your perfect MacBook wallpaper aesthetic is a great place to start.
Now, let's get into the practical steps of how to actually make these things.
Sourcing Your Perfect Moving Wallpaper Footage
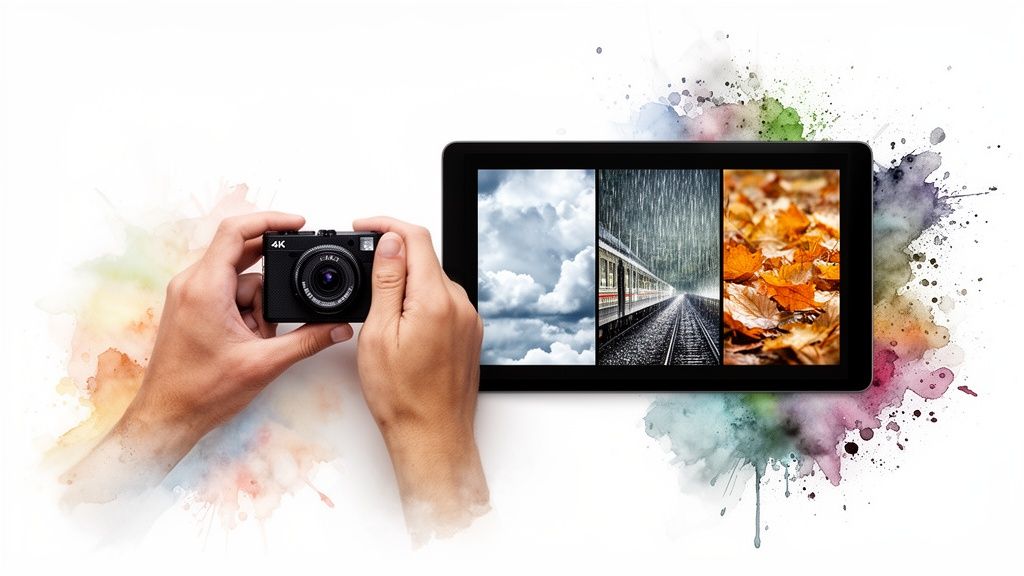
Before you can have a masterpiece, you need a canvas. For a moving wallpaper, that means finding the right raw material. You have two paths: find existing video footage, or go all out and create your own animation.
One path is fast. The other gives you complete creative control. Let's break them down.
The Fast Route: Finding Stock Footage
If you want a wallpaper by the end of the day, stock footage is your friend. Sites like Pexels and Artgrid are treasure troves of royalty-free 4K video. But you're not making a summer blockbuster; you're crafting an ambient mood. The trick is knowing what to look for.
When you're hunting for clips, think subtle and stable. A shaky, handheld video of a beach party will just give you a headache. You want something you can put on loop and forget about.
-
Subtle Motion: Look for clips where only a small part of the scene is moving. Steam rising from a coffee cup. Rain streaking down a window. Clouds drifting lazily across the sky. The background should be the focus, not a distraction.
-
Stable Shot: This is critical. No camera pans, no zooms, no shaky cam. The camera needs to be locked down on a tripod. A static shot lets the subtle animation do all the work.
-
Looping Potential: Find footage with a consistent, repeatable pattern. A waterfall is perfect — its motion is constant and can be looped with a simple fade. A car driving from left to right, on the other hand, is a one-way trip. It's much harder to make that look natural on repeat.
The Ambitious Route: Creating Your Own Animation
For anyone who wants total control, creating your own animation is the way to go. It's more work, sure, but the result is something that is 100% yours.
Tools like Adobe After Effects or Procreate are the pro choice, but you can even use simpler web-based apps to get started. You can begin with a static image—a photo you took, a piece of digital art—and add small, animated details. Think of a still photo of a forest, but you add a few blinking fireflies. Or a drawing of a city street where you animate gentle falling rain.
This isn't about telling a complex story. You're trying to create a simple, hypnotic loop that can play for hours without getting old. It's a digital zen garden for your desktop.
If you're starting with a still image and want to bring it to life, learning how to create animation from images is a great place to begin.
For a little inspiration, check out the gifPaper lofi wallpaper and nature wallpaper collections. You'll see how a simple concept—a train ride, a snowy forest—can be turned into a mesmerizing backdrop.
Editing Your Video for a Flawless Loop
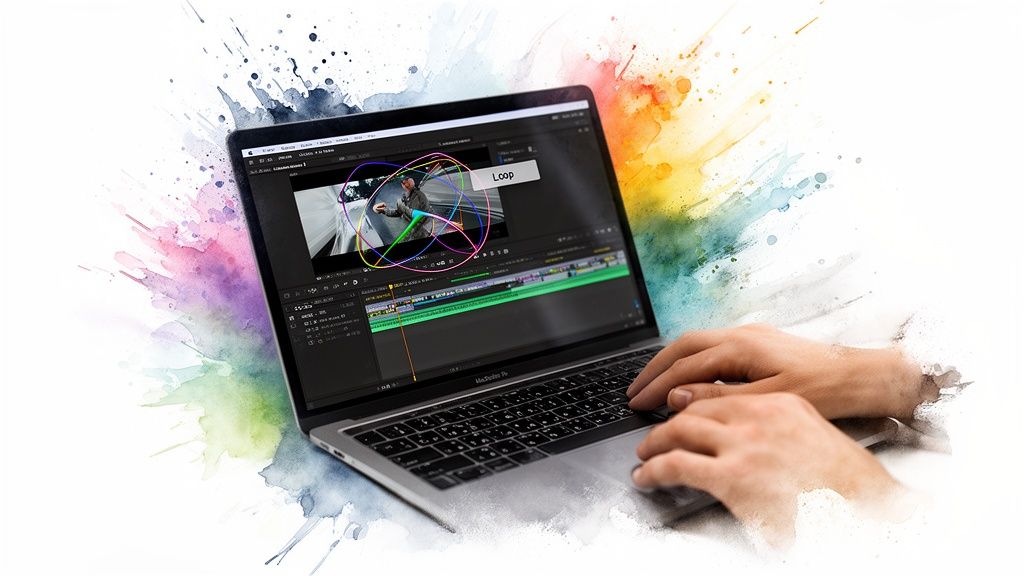
Here's the secret to a great moving wallpaper: the loop. A sudden, jarring cut where the video restarts completely shatters the ambient illusion. You're aiming for a transition so smooth that your brain can't even tell where the video ends and begins.
Once you've got your footage, it's time to fire up your video editor of choice — something like DaVinci Resolve, Final Cut Pro, or even CapCut will do the trick. The whole game is learning how to make a video loop so perfectly that it feels infinite.
First, Be Ruthless: Trim Your Clip
Before you even think about looping, you need to trim your clip. A 10-minute video of a fireplace is complete overkill. Your goal is a short, representative sample of the action—ideally between 10 and 30 seconds.
This keeps the file size down and makes the whole looping process way easier. Find the single best segment of your clip—the most stable part, with the most consistent movement—and cut out everything else. Your Mac's storage will thank you.
Looping Techniques Compared
Choosing the right looping method depends entirely on what your source footage is doing. Here's a quick breakdown of the two most common techniques.
| Technique | Best For | Pros | Cons |
|---|---|---|---|
| Crossfade | Rain, snow, fire, water | Simple to execute and very effective for random, chaotic motion. | Can look blurry or "ghostly" on clips with distinct moving objects. |
| Ping-Pong | Trains, waves, symmetrical animations | Creates a perfect, flawless loop for linear or predictable movement. | Can look unnatural and jarring on chaotic or random footage. |
There's no single "best" method. It all comes down to what looks most natural for your specific clip. Don't be afraid to try both.
The Crossfade Method
The simplest and most effective technique for a lot of footage is the crossfade, also called a dissolve. It works beautifully for chaotic, non-directional movement like falling snow, gentle rain, or a flickering fire.
Here's the basic process: * Place your trimmed clip on the timeline. * Duplicate the clip and stack it on a track directly above the original. * Slide the top clip so its beginning overlaps with the end of the bottom clip. A 1-2 second overlap is usually a good starting point. * Apply a cross-dissolve transition to the start of the top clip and the end of the bottom one.
You're essentially blending the two ends together so the eye can't spot the seam. The end of your clip fades out while the beginning fades in, creating a smooth, invisible reset.
The Ping-Pong Method
For footage with symmetrical or predictable movement—like a subway car pulling into a station and then leaving, or gentle waves washing ashore—the "ping-pong" method is a much better fit. This involves playing the clip forward and then immediately playing it in reverse.
The result is a perfect, mirror-image loop where the end of the forward motion is the start of the backward motion. It creates a hypnotic, back-and-forth effect that can be incredibly satisfying to watch.
To pull this off, just duplicate your clip in your editor and place it on the timeline right after the original. Then, apply a reverse-speed effect to that second clip. Make sure there's no gap between them. When the video plays, it will hit the end and then seamlessly reverse course back to the beginning.
Encoding and Exporting for Optimal Mac Performance
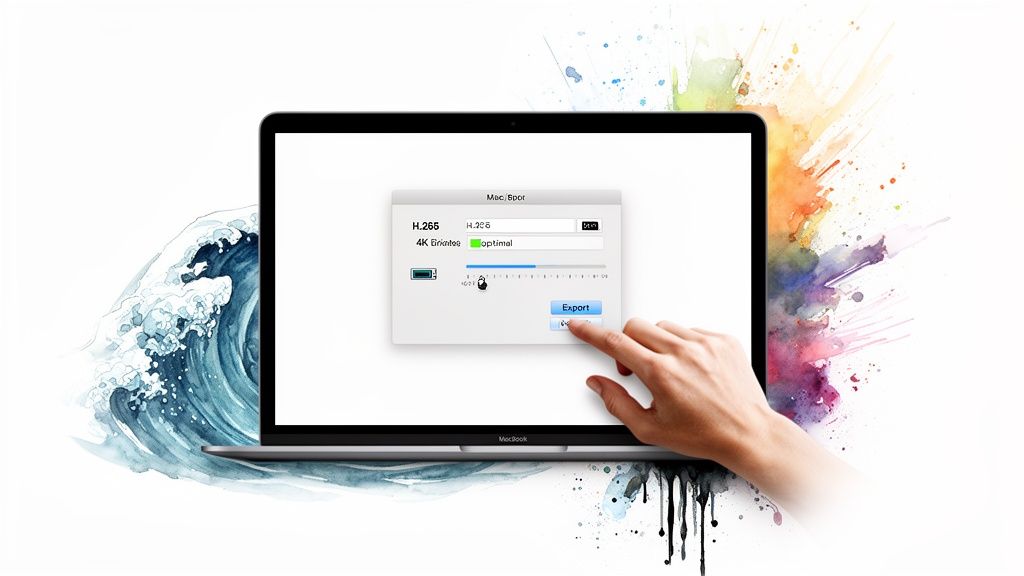
Getting your export settings right is the difference between an effortless moving wallpaper and a file that makes your Mac's fans scream for mercy. This is the final, technical hurdle. A poorly encoded video will either look pixelated, drain your battery, or both.
Think of this as your checklist for a perfectly optimized video file that your Mac will love.
Codec and Resolution: The Only Settings That Matter
Forget the alphabet soup of video formats and endless dropdown menus. For a modern Mac, there are only two things you really need to get right: the codec and the resolution. Everything else is just details.
-
Codec: Choose H.265 (HEVC). It's the modern standard for a reason. H.265 offers massively better compression than the old H.264, giving you a higher-quality image with a much smaller file size. Apple uses it for their own native video wallpapers because it's just that efficient.
-
Resolution: Always export at 4K (3840x2160). Even if your MacBook screen isn't 4K, this ensures your wallpaper looks impossibly crisp on any Retina display. Downscaling a 4K video looks far better than upscaling a blurry 1080p one. The guide to MacBook wallpaper sizes gets into the weeds on this.
Nail these two settings, and you've already won half the battle.
Bitrate, Frame Rate, and Audio
With the core settings dialed in, a few final tweaks will take your wallpaper from good to perfect. These control the balance between file size, smoothness, and immersion.
Your bitrate directly impacts file size. For a 15-30 second 4K HEVC loop, a bitrate between 10,000 and 20,000 kbps is the sweet spot. This keeps the file manageable (usually 50-200MB) without introducing those ugly compression artifacts, especially in dark or detailed scenes.
Always use a constant frame rate (CFR), not a variable one (VFR). Stick to 24, 25, or 30 FPS. This guarantees smooth, consistent playback and prevents any weird stuttering issues.
Finally, consider adding a subtle, looping audio track. The quiet crackle of a fire or the gentle hum of a spaceship can add a whole new layer of immersion. Just make sure your audio loops as perfectly as your video does.
Your Mac is a finely tuned machine. Feeding it a properly encoded video file is like giving it premium fuel—it just runs better. These settings ensure your wallpaper is a quiet, efficient passenger, not a resource-hogging nuisance.
Following these guidelines ensures your final video is ready to go. It will be high-quality, efficient, and perfectly suited to run natively on your Mac's desktop and lock screen—the final step in making your own moving wallpapers a reality.
You've done the hard part. You found the perfect footage, spent hours getting the loop just right, and now you have a sleek, optimized video file ready to go.
This is the moment of truth. And for most people, this is where it all falls apart. You try a few wallpaper apps. They're clunky, they drain your battery, and half of them don't even touch the lock screen. You end up with a hacky overlay that makes your thousand-dollar Mac feel cheap.
This is exactly why I built gifPaper. It's the only app I know of that uses Apple's native Aerial wallpaper system to set your own videos as your background. No weird overlays, no performance hits, no hacks. It works exactly like Apple's own moving wallpapers because, as far as your Mac is concerned, that's what they are.
Bringing Your Masterpiece to Your Mac
The final step of any creative project should feel like a victory lap, not another technical hurdle. The process here is almost laughably simple.
Here's the entire workflow:
- Download the 7-day free trial of gifPaper for Mac. No credit card, no nonsense. You get all the features and the full wallpaper gallery.
- Open the app.
- Drag your finished
.mp4or.movfile into the window. - Click "Set Wallpaper."
That's it. One click and you're done. It sets both your lock screen and desktop at the same time.
Wake your Mac, and you'll see your creation playing beautifully, slowing to a graceful stop as you unlock. The desktop defaults to a gorgeous still frame to save battery, but a simple toggle lets you turn on full animation whenever you feel like it.
This is the payoff. The moment your custom-made world becomes a real, integrated part of your Mac. It's running on the lock screen, the desktop, and the screen saver—just like it's supposed to.
Mac users in particular are happy to invest in making their digital workspace feel like their own. You put in the work to make something cool. Now give it the home it deserves.
Common Questions & Practical Answers
You've got your footage, you've edited the perfect loop, and you're ready to bring your Mac's desktop to life. But a few practical questions always pop up right about now. Let's get them out of the way.
Will a Moving Wallpaper Drain My Mac's Battery?
This is the big one, and the answer separates the good apps from the bad. It all comes down to how the app works.
Other wallpaper apps often work by plastering a full-screen video player on top of your desktop. It's just an overlay, and yes, it's a total battery hog because it's always running, always demanding resources, even when you can't see it.
That's exactly why I built gifPaper for Mac to use Apple's native wallpaper system. The animation automatically pauses when windows are covering your desktop or when you're running a demanding app. The desktop even defaults to a beautiful still frame—you have a simple toggle to enable full animation when you actually want it. It puts you in control.
On your lock screen, the animation only runs when your Mac is actually locked. The impact on your battery during active use is basically zero. It's built to be efficient, not a resource pig.
What's the Ideal File Size?
There's no single magic number, but there's definitely a sweet spot. You're looking for that perfect balance between stunning visual quality and not eating up your entire hard drive.
For a 15-30 second 4K loop, especially when using the efficient H.265 (HEVC) codec, a file size between 50MB and 200MB is a fantastic target.
If your file is way bigger than that, you're probably just wasting disk space with a bitrate that's overkill. If it's much smaller, you risk seeing those ugly compression artifacts—the blocky, pixelated mess you get in dark scenes, like the ones you'd find in the dark wallpaper collection. Good encoding is the key, not just a tiny file.
Can I Just Use a GIF?
Technically, some apps let you. But you absolutely, positively should not. It's like trying to win a Formula 1 race with a horse and buggy.
GIFs are an ancient, brutally inefficient format that should have been retired in 2003. They are limited to a measly 256 colors, which looks like a pixelated, color-banded disaster on a modern Retina display. They also somehow manage to produce gigantic file sizes for their shockingly low quality.
A modern MP4 video using H.265 will look infinitely better. It supports millions of colors, can include a high-quality audio track, and will almost always have a smaller file size for the same length. For the love of your Mac's beautiful screen, please skip the GIFs.
Is This Even Legal?
Great question. The answer is all about where you got your video. It comes down to copyright.
If you're using footage you shot yourself, an animation you created, or a royalty-free stock video, you're in the clear for personal use. You either own the content or have a license to use it.
The legal gray area turns into a red flag when you start ripping scenes from movies or using a YouTuber's video without permission. To stay on the right side of things, always use sources like Pexels or Artgrid that have clear licensing terms.
Or, you can just skip the legal headache entirely and enjoy the 150+ fully licensed 4K wallpapers that come with gifPaper. I've already handled all the boring licensing stuff so you don't have to.
You've put in the work to create something special for your desktop. gifPaper is the final piece of the puzzle, built to make your custom wallpaper a seamless, native part of your Mac. Download the gifPaper for Mac app to start your 7-day free trial and see for yourself. It's a one-time $4.99 purchase—not a subscription—and there's a 30-day money-back guarantee if you don't love it.