Using a 23 Apple Cinema Display in 2026: A Practical Guide
You found one. Maybe at a recycler, maybe in a closet, maybe because a friend said "it still works" in the same tone people use for old espresso machines and suspicious project cars.
The 23 apple cinema display still has that effect. It looks important sitting on a desk. Even powered off, it has the kind of industrial design that makes modern plastic monitors look like they were approved by a committee whose favorite color is beige spreadsheet. The problem is that admiration lasts about ten seconds, right up until you look at the cable situation and realize you may have adopted a beautiful relic with the connectivity habits of another civilization.
So You Bought a Vintage Apple Display
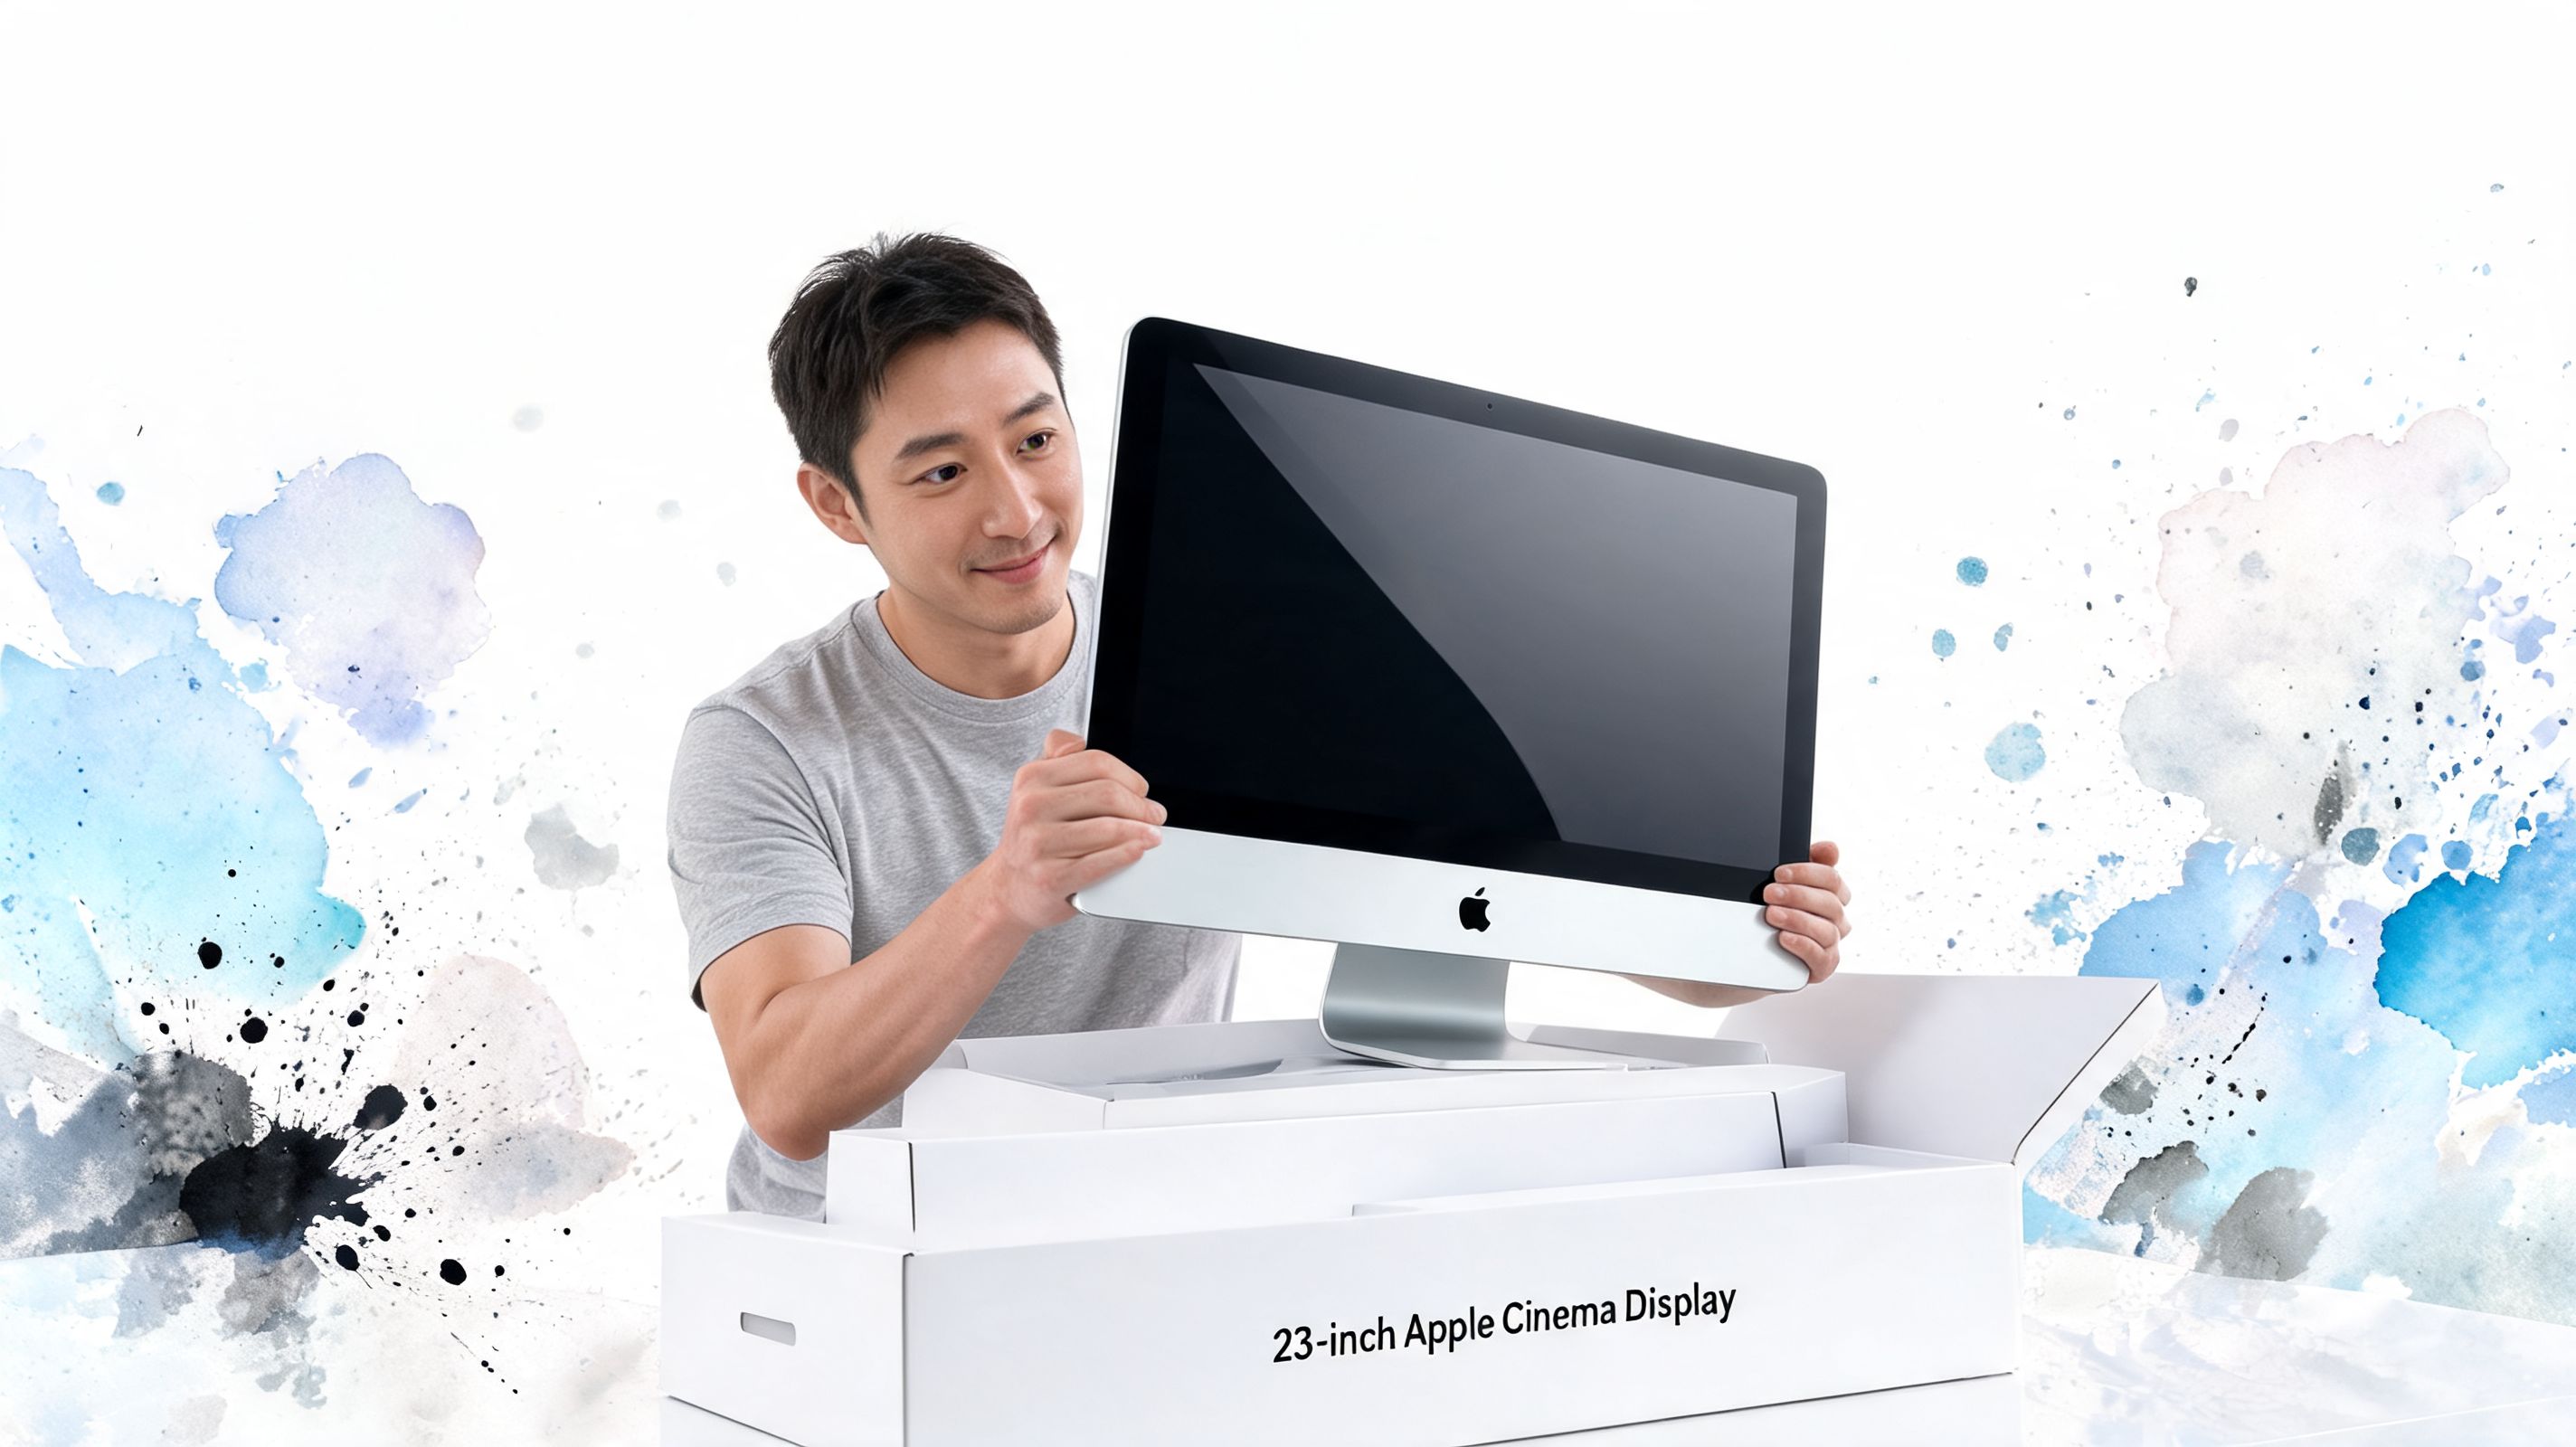
The usual internet treatment for this display goes like this: a loving recap of the design, a neat list of old specs, then a hard pivot into silence when the obvious question arrives. Can this thing work with a current Mac, or are you about to build a dangling chrome octopus out of adapters?
That gap is the whole reason this guide needs to exist. As noted in Apple-era documentation discussed in this Cinema HD Display manual context, most coverage stays stuck on the panel's original identity instead of answering the practical buyer question. That's how people end up with a lovely aluminum rectangle that functions mostly as furniture.
What matters right away
There are only a few things worth caring about on day one:
- Which connector your display has. This decides whether setup is mildly annoying or spiritually educational.
- Whether you want it for vibes or serious color work. Those are not the same mission.
- How much tolerance you have for adapter chains. Some people enjoy the puzzle. Some people want one cable and inner peace.
Practical rule: Don't buy anything for this monitor until you identify whether it's an ADC model or a later DVI model.
A lot of vintage Apple hardware is fun because it asks just enough of you to feel like a project. This one definitely asks. But if you go in with realistic expectations, the 23-inch Cinema Display can still be a great second screen, a conversation piece, or a dedicated display for the kind of desk setup that makes you mutter "yes, this is absurd, but look at it."
What this display is not
It isn't a modern plug-and-play USB-C monitor. It isn't a sensible choice if you need contemporary display features. It isn't the screen you buy because you hate cable clutter.
It is the screen you buy because Apple made something lovely, and you want to see whether that loveliness can survive contact with present-day reality.
A Quick History of an Icon
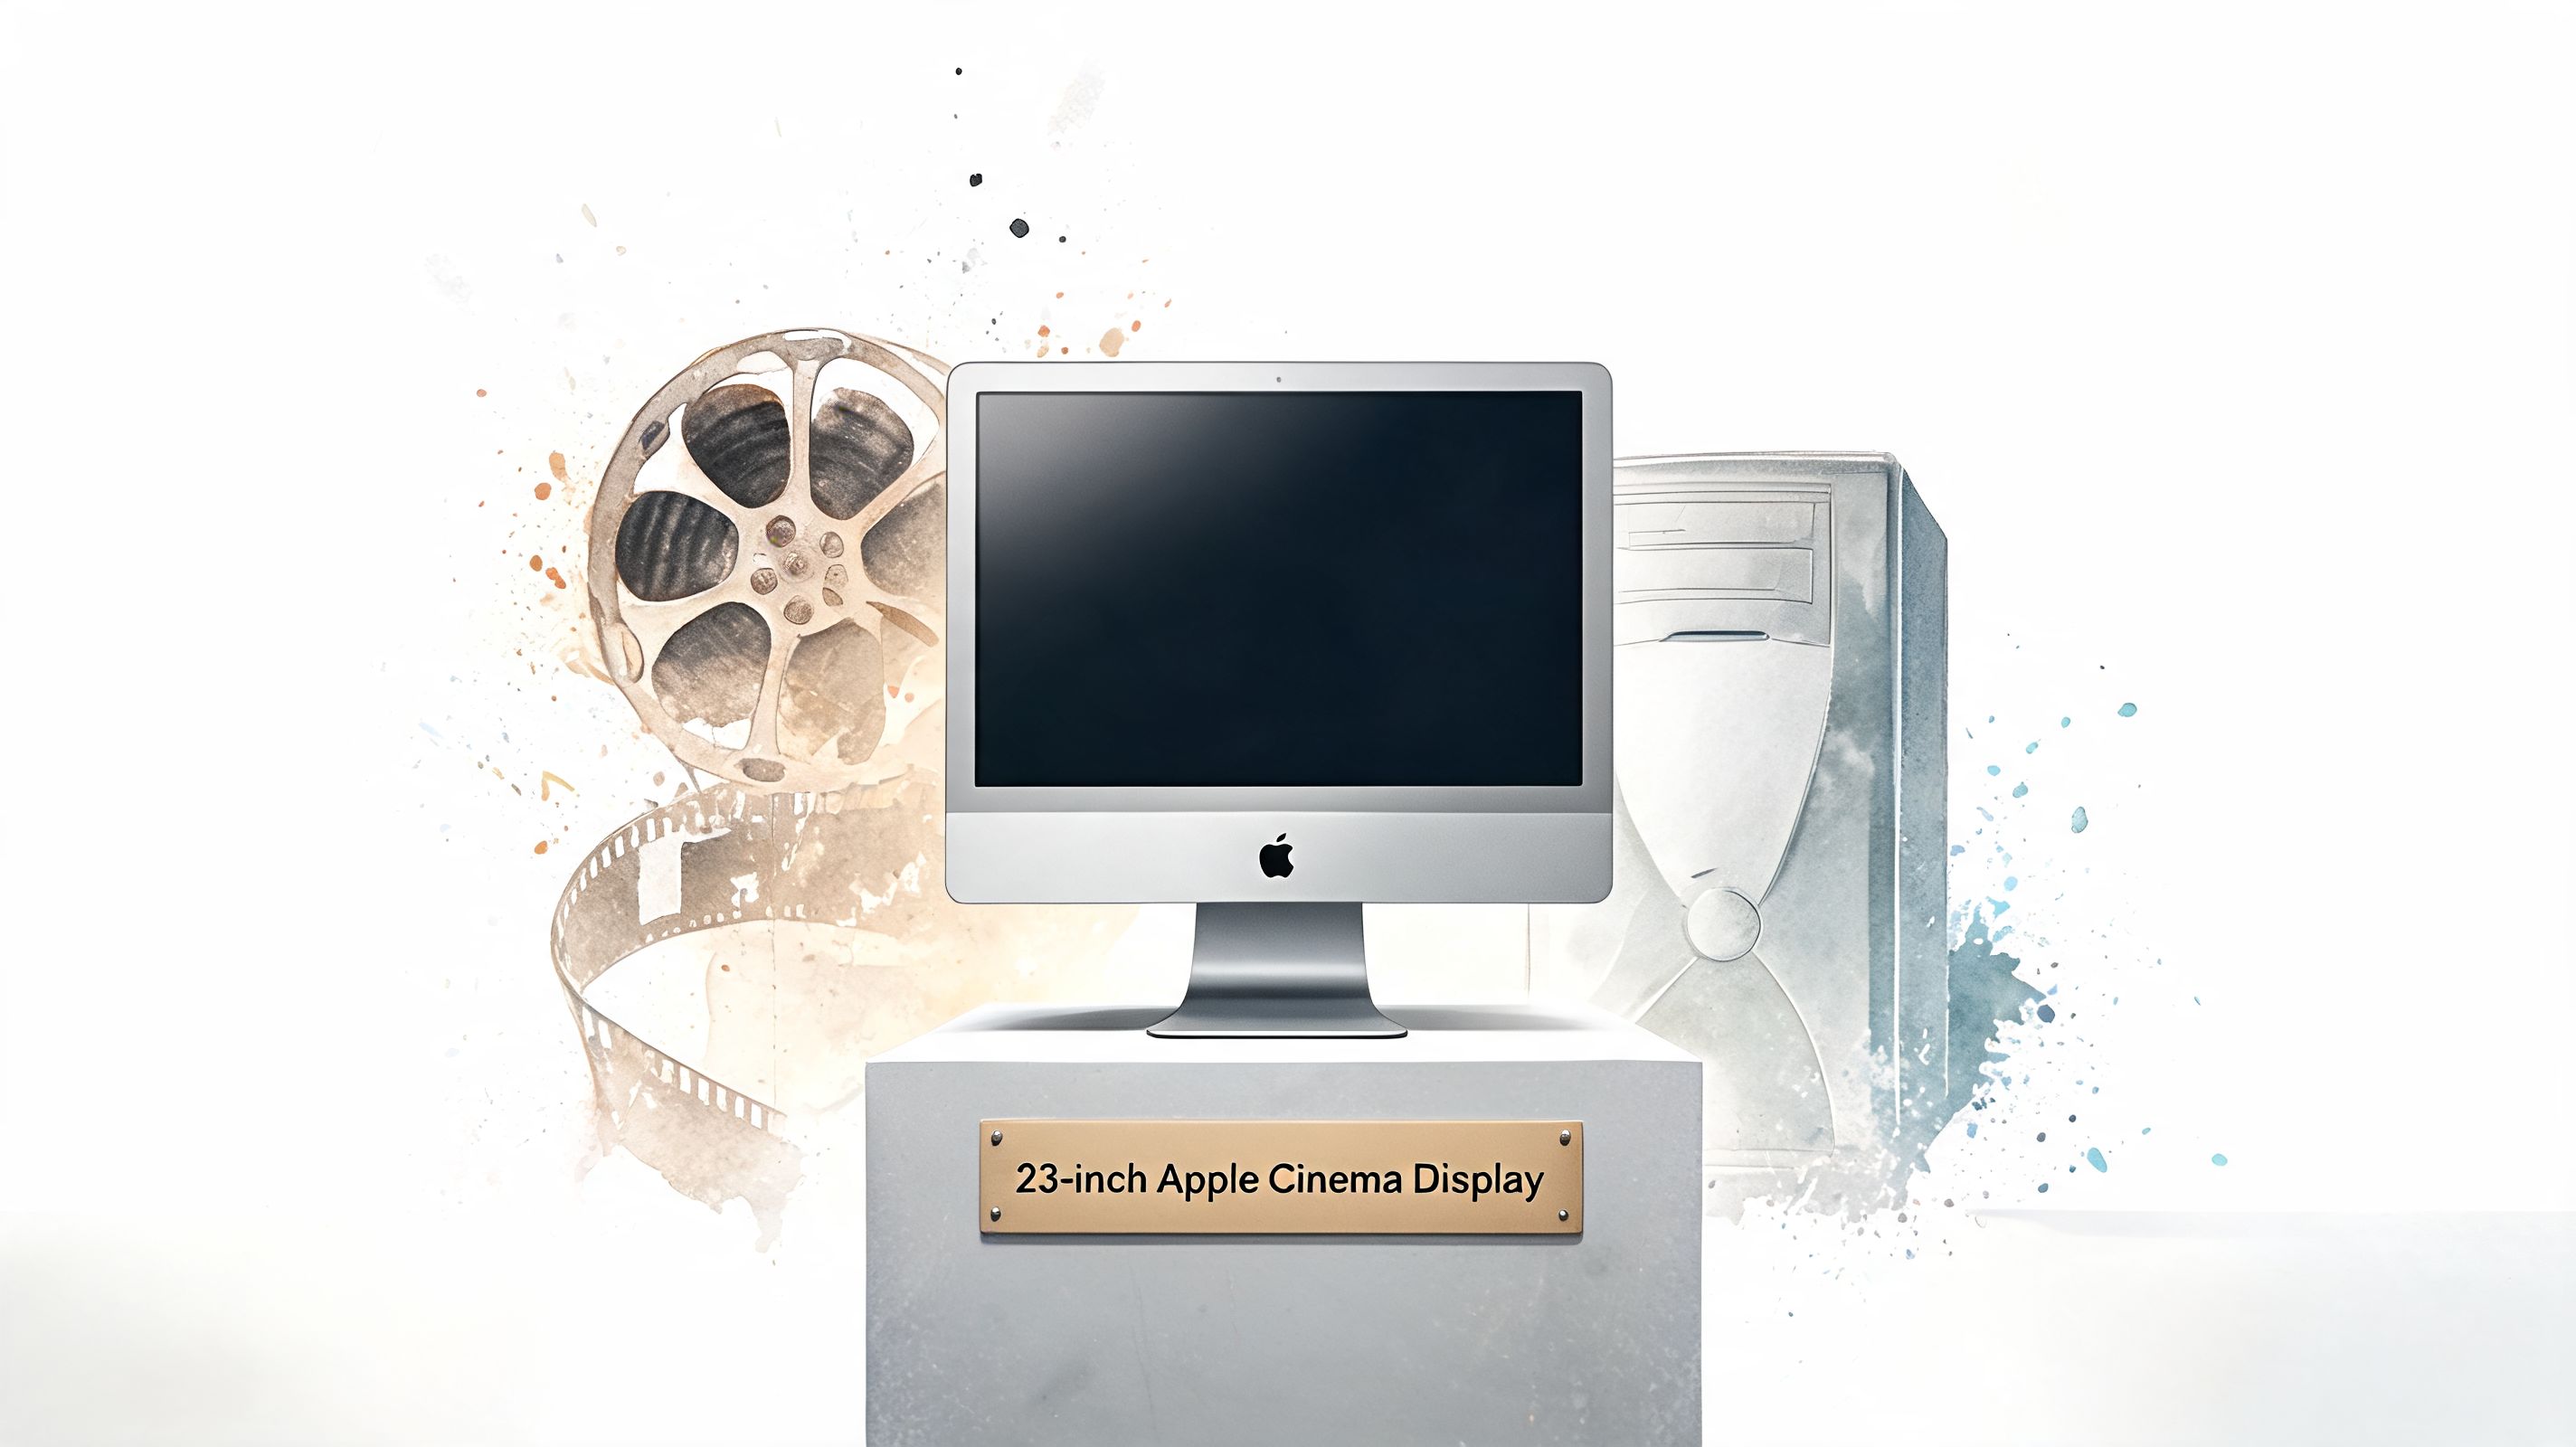
In its own era, the 23-inch Apple Cinema Display wasn't just a nice-looking monitor. It was a statement about where professional Macs were headed. Apple unveiled it at Macworld Expo Tokyo on March 21, 2002, and the headline feature was its 1920 x 1200 native resolution, built so Final Cut Pro users could author HDTV content in its native format, according to Apple's original product page for the 23-inch Cinema Display.
That mattered. A lot.
Why it felt futuristic
This was a display aimed squarely at people doing real work with images, video, and technical visuals. Apple positioned it as a professional panel with over 2.3 million digital pixels, support for 16.7 million colors, and a wide viewing angle on an active-matrix LCD. The matte finish and wide format also made it practical for less glamorous tasks, like having two full pages of text and graphics visible at once.
The original connector choice says a lot about Apple's mindset at the time. The early model used ADC, Apple's proprietary Display Connector, which carried digital video, USB, and power through a single cable. On paper, that was elegant. On a Power Mac in the early 2000s, it probably felt like the future had arrived wearing brushed metal.
It solved cable mess in one specific Apple-shaped universe, then aged into a compatibility riddle the second that universe changed.
Why people still care
Part of the affection for this display is the object itself. The other part is what it represented. Apple was building tools for editors, designers, and technical users who wanted more screen space without moving into giant studio reference monitors.
That design logic still feels fresh. If you're interested in how form and function connected in that era, this monitor is a weirdly good hardware example. Apple didn't just make a panel. It made a display system that tried to simplify video, power, and peripheral connection into one coherent object. The later headaches are real, but the design intent was unusually clear.
The part nostalgia skips
The problem with historical appreciation is that it can blur into myth. People remember how advanced it felt, and they're right. They just forget that "advanced in 2002" and "practical on a current desk" are two separate questions.
That's where most writeups stop being useful. They admire the artifact. They don't help you live with it.
Understanding the 16 by 10 Resolution
The best everyday thing about the 23 apple cinema display is also the thing that confuses people now. It runs at 1920 x 1200, which means 16:10, not 16:9.
That extra vertical space is why old widescreen productivity displays still have loyal fans. You get a bit more room for menus, browser chrome, timelines, tool palettes, and actual document content. If you spend your day reading, writing, editing, or stacking windows like a tiny digital landlord, 16:10 still feels great.
Why 16 by 10 still feels good
A modern 16:9 monitor is built around today's standard video shape. A 16:10 display is slightly taller. That means less scrolling and fewer moments where your app feels like it's wearing pants that are too short.
For static wallpapers, this is easy. Use artwork made for 1920 x 1200, or crop from a larger image while preserving the 16:10 frame. For motion content, including live wallpapers, you need to think in frames instead of just "close enough."
If you want a clean refresher on sizing modern Mac backgrounds in general, this guide to MacBook wallpaper size is useful because it helps you think in aspect ratios first, pixels second.
A simple way to prep visuals
Use this approach:
- Start with a larger source if you have one. Bigger source material gives you room to crop without wrecking composition.
- Crop to 16:10 first. Don't resize a 16:9 video and hope for mercy.
- Keep the subject away from the edges. Menu bars and docks love eating the important part of an image.
- Export at 1920 x 1200 for this display if you want a native fit with no stretching.
If a wallpaper looks cramped on a 16:9 display, it often looks better on 16:10. The frame gives vertical composition a little more breathing room.
What usually goes wrong
Here's the short table version.
| Content shape | What happens on 23-inch Cinema Display | Better move |
|---|---|---|
| 16:9 image or video | Cropping or letterboxing choices appear immediately | Reframe for 16:10 |
| Ultrawide content | You lose too much top and bottom | Use only if the subject is centered well |
| Vertical-heavy art | Often looks excellent | Keep key details below the menu bar |
This is one of the pleasant surprises of using the display today. It may be old, but the format is still practical. The trick is respecting it instead of treating it like a modern television panel.
Connecting to a Modern Mac Without Crying
This is the part everyone needs.
The 23-inch Cinema Display exists in two very different connection worlds. The later ones are manageable. The early one is where your desk starts to resemble a museum exhibit about transitional I/O standards.
First identify the model
Look at the display cable.
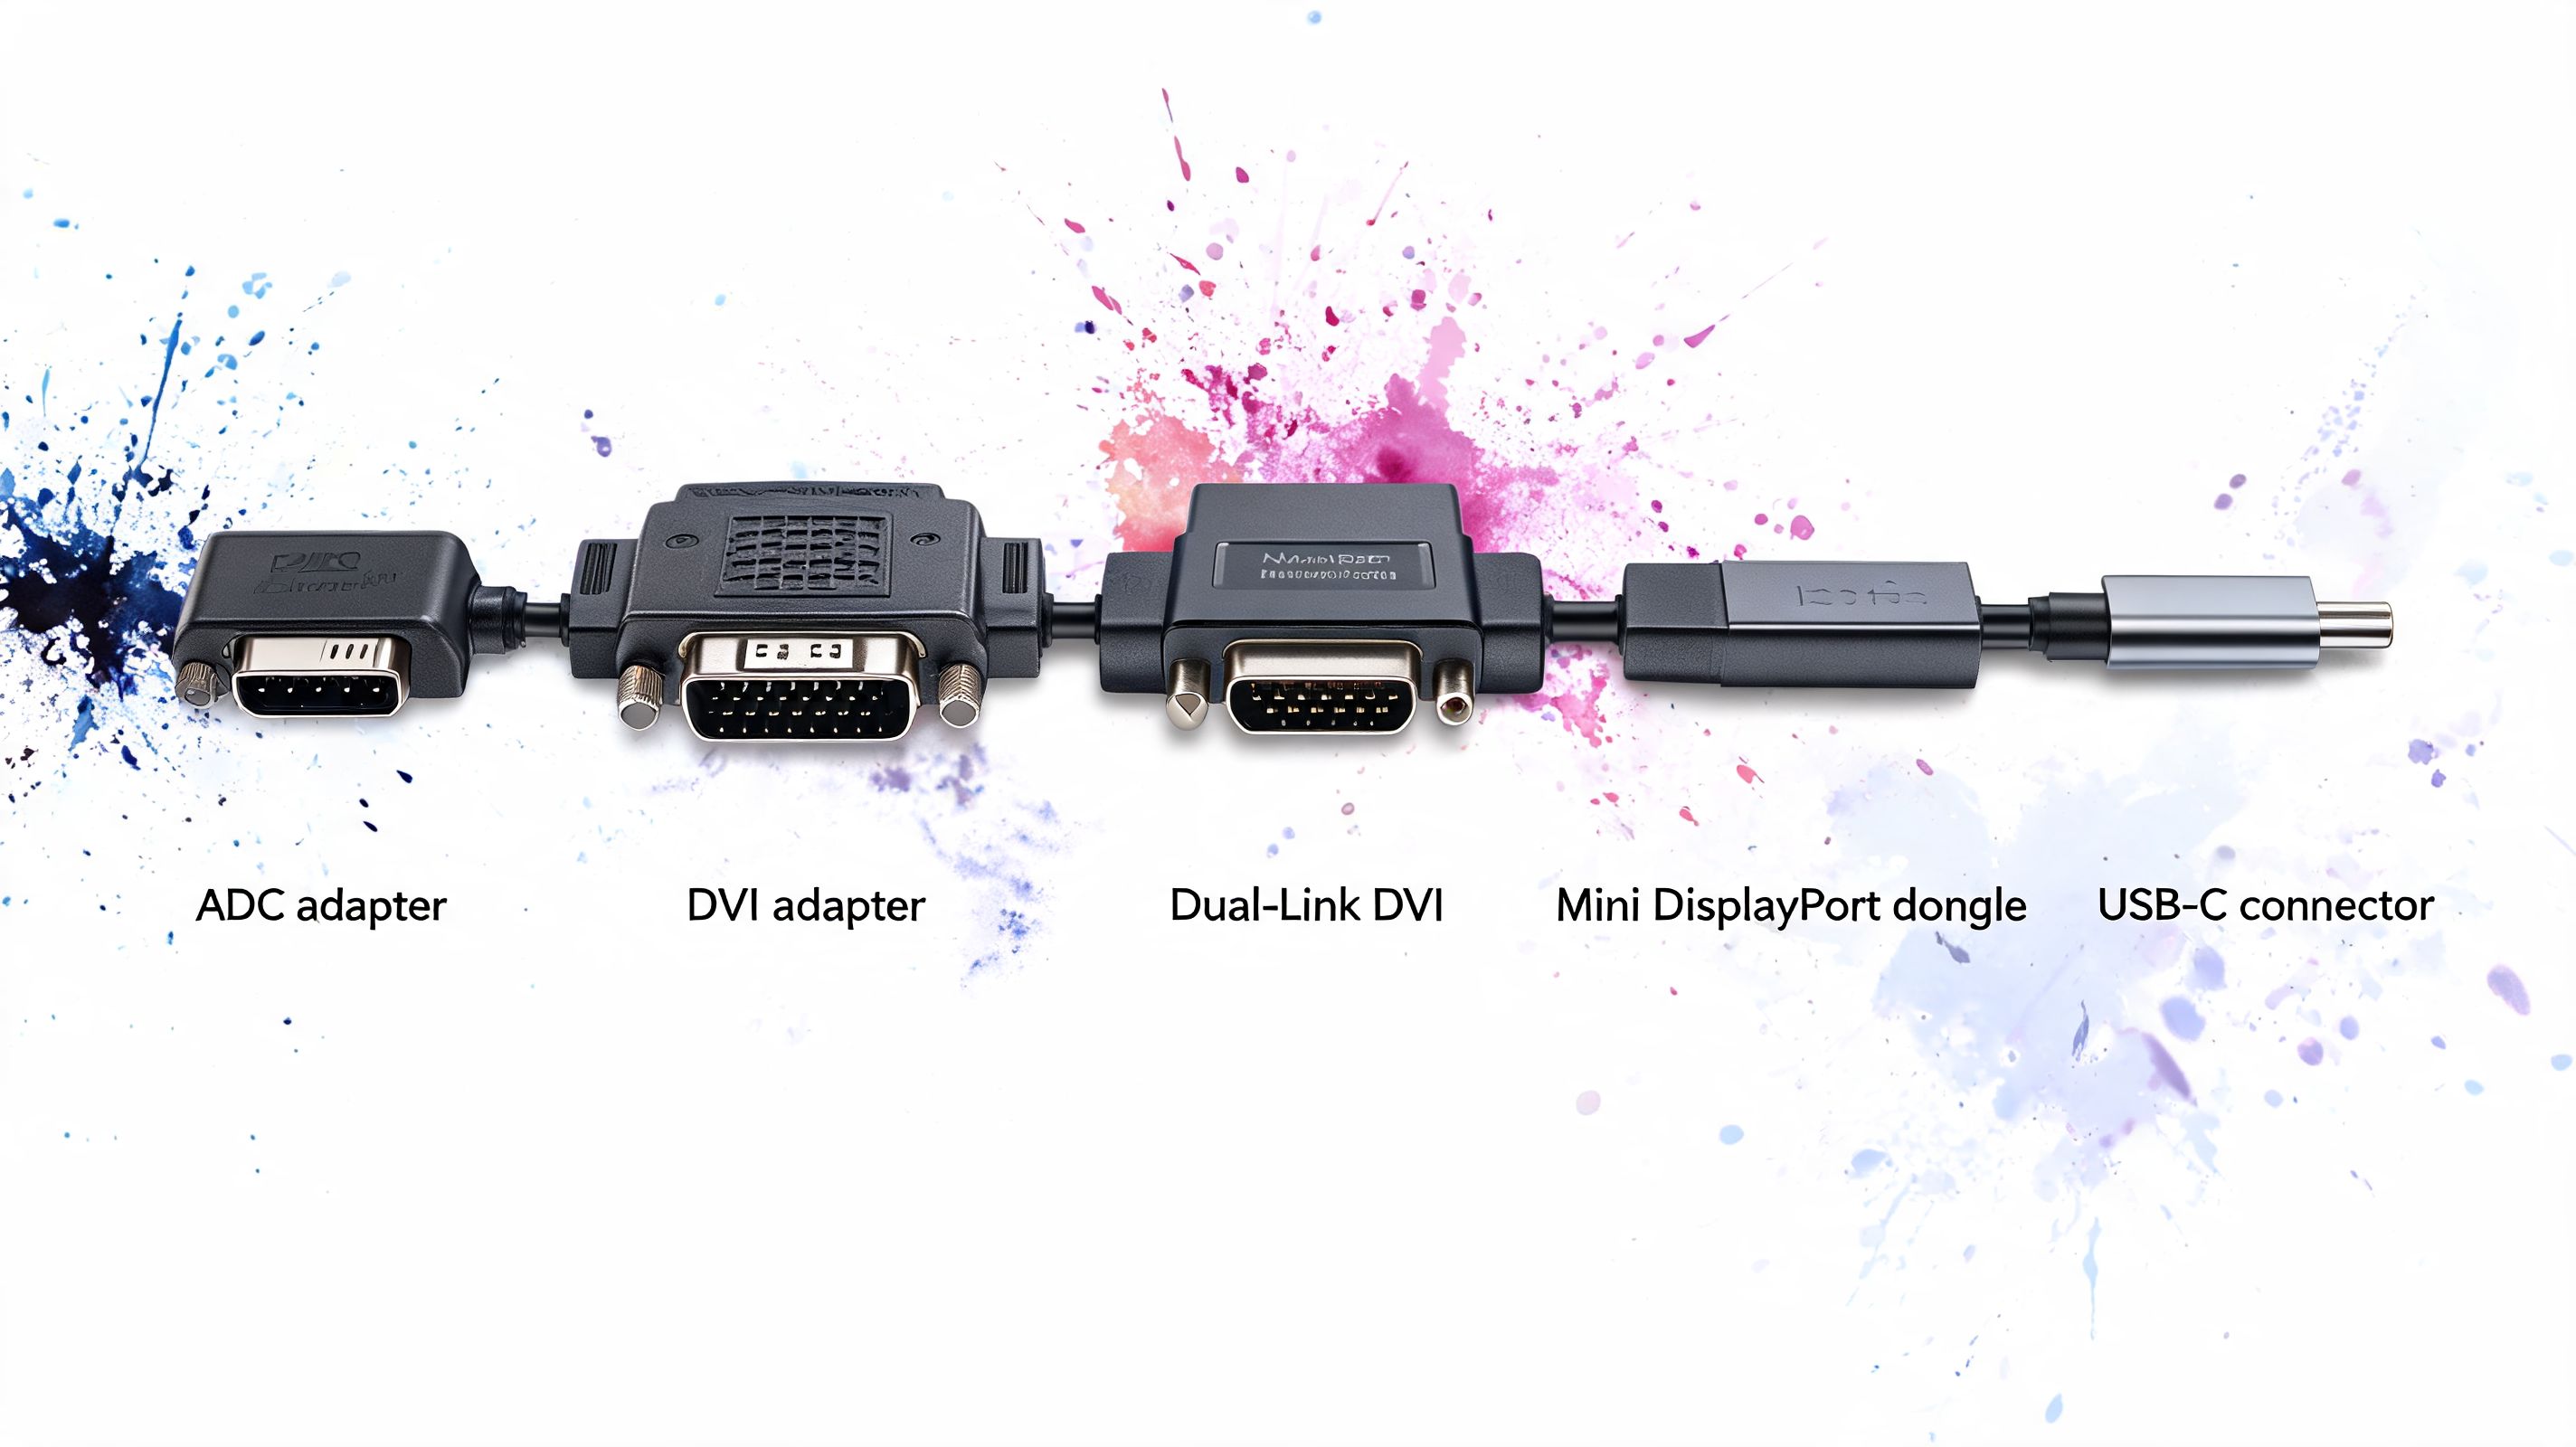
- ADC model means the monitor uses Apple's older all-in-one connector.
- DVI model means it uses a more standard video connector and is far easier to adapt.
That distinction matters because later generations, especially the Late 2005 model, moved to PC-compatible DVI and added VESA mount support, which made them much easier to use beyond old Mac-only setups, according to the Apple Cinema Display specs sheet.
If you have the DVI version
This is the sane path.
A modern Mac with USB-C or Thunderbolt usually just needs a chain that converts from the Mac's current port to DVI. In plain English, you're translating modern output into a language the old display understands.
Typical path:
- Modern Mac output to a USB-C or Thunderbolt video adapter
- That adapter to DVI
- DVI into the display
That's still dongly, but it's normal-person dongly.
If you're planning to run this as part of a larger desk setup, this guide on using 3 monitors with a MacBook Pro is handy because it helps you think about where a legacy screen fits in a mixed modern-plus-vintage arrangement.
If you have the ADC version
Things become artisanal here.
ADC carries power along with video and USB. Modern Macs don't speak ADC at all, so you need to break that old one-cable convenience back into separate parts through adapters. The chain gets longer, the setup gets fussier, and your success depends a lot on having the correct pieces in the correct order.
The practical version is simple even if the cable pile isn't:
- You need to convert ADC into something modern gear can feed
- You need to provide the display with the power it expects
- You need to accept that this may look ridiculous on your desk
Reality check: The ADC version can work, but "can work" is not the same thing as "is worth it for everybody."
Reliability and what actually works
The reason the DVI version is the preferred choice for many isn't aesthetics or purity. It's repeatability. Fewer links in the chain usually means fewer weird failures, fewer wake-from-sleep tantrums, and less time wondering whether the monitor is dead when the actual villain is Adapter Number Three.
A few practical habits help:
- Keep the chain short when you can. Every extra conversion point is another possible failure.
- Test at native resolution first. Don't troubleshoot scaling, color, and connection all at once.
- Expect some trial and error. Vintage display setup is less "single cable elegance" and more "ritual with small silver objects."
If you own the late DVI version, you've got the best-case scenario. If you own the ADC version, congratulations on your commitment to the bit.
Living with Quirks and Character
Getting signal to the panel is only half the story. Then you have to look at it every day.
Spec sheets stop helping at this point. On paper, the display sounds reassuringly professional. In real life, old LCD panels age like old LCD panels. Some age gracefully. Some age like milk in direct sunlight.
The honesty section
Owner reports over time have included complaints about persistent color problems even after recalibration. That gap between original promise and present-day behavior is part of the modern reality, as seen in long-running Apple Community discussion about color issues.
That doesn't mean every surviving unit is bad. It means you shouldn't assume yours will behave like a fresh reference display just because the original marketing was flattering.
Some vintage hardware has patina. Some vintage hardware has panel drift wearing a fake mustache and calling itself patina.
What the quirks feel like in use
The most common issues are easy to recognize once you stop expecting perfection:
- Color inconsistency can show up across the panel, especially when you're looking for neutral tones.
- Age-related drift means calibration may help without fully solving the problem.
- General old-panel behavior can make the screen feel charming for ambient use and less convincing for critical visual work.
Who should actually use it
This monitor still makes sense for some people.
| Use case | Good fit | Bad fit |
|---|---|---|
| Second screen for writing and general Mac use | Yes | Not really a problem |
| Vintage desk setup with aesthetic goals | Absolutely | That's half the point |
| Serious modern color-critical design work | Maybe not | Better to use a newer display |
If you want a practical daily screen with personality, the 23-inch Cinema Display can still be fun. If you need dependable color accuracy for paid design work, nostalgia should lose the argument.
Making It All Worthwhile with Live Wallpapers
Once the adapters behave and you've made peace with the panel's personality, the old display can do what it still does best. It can look fantastic.
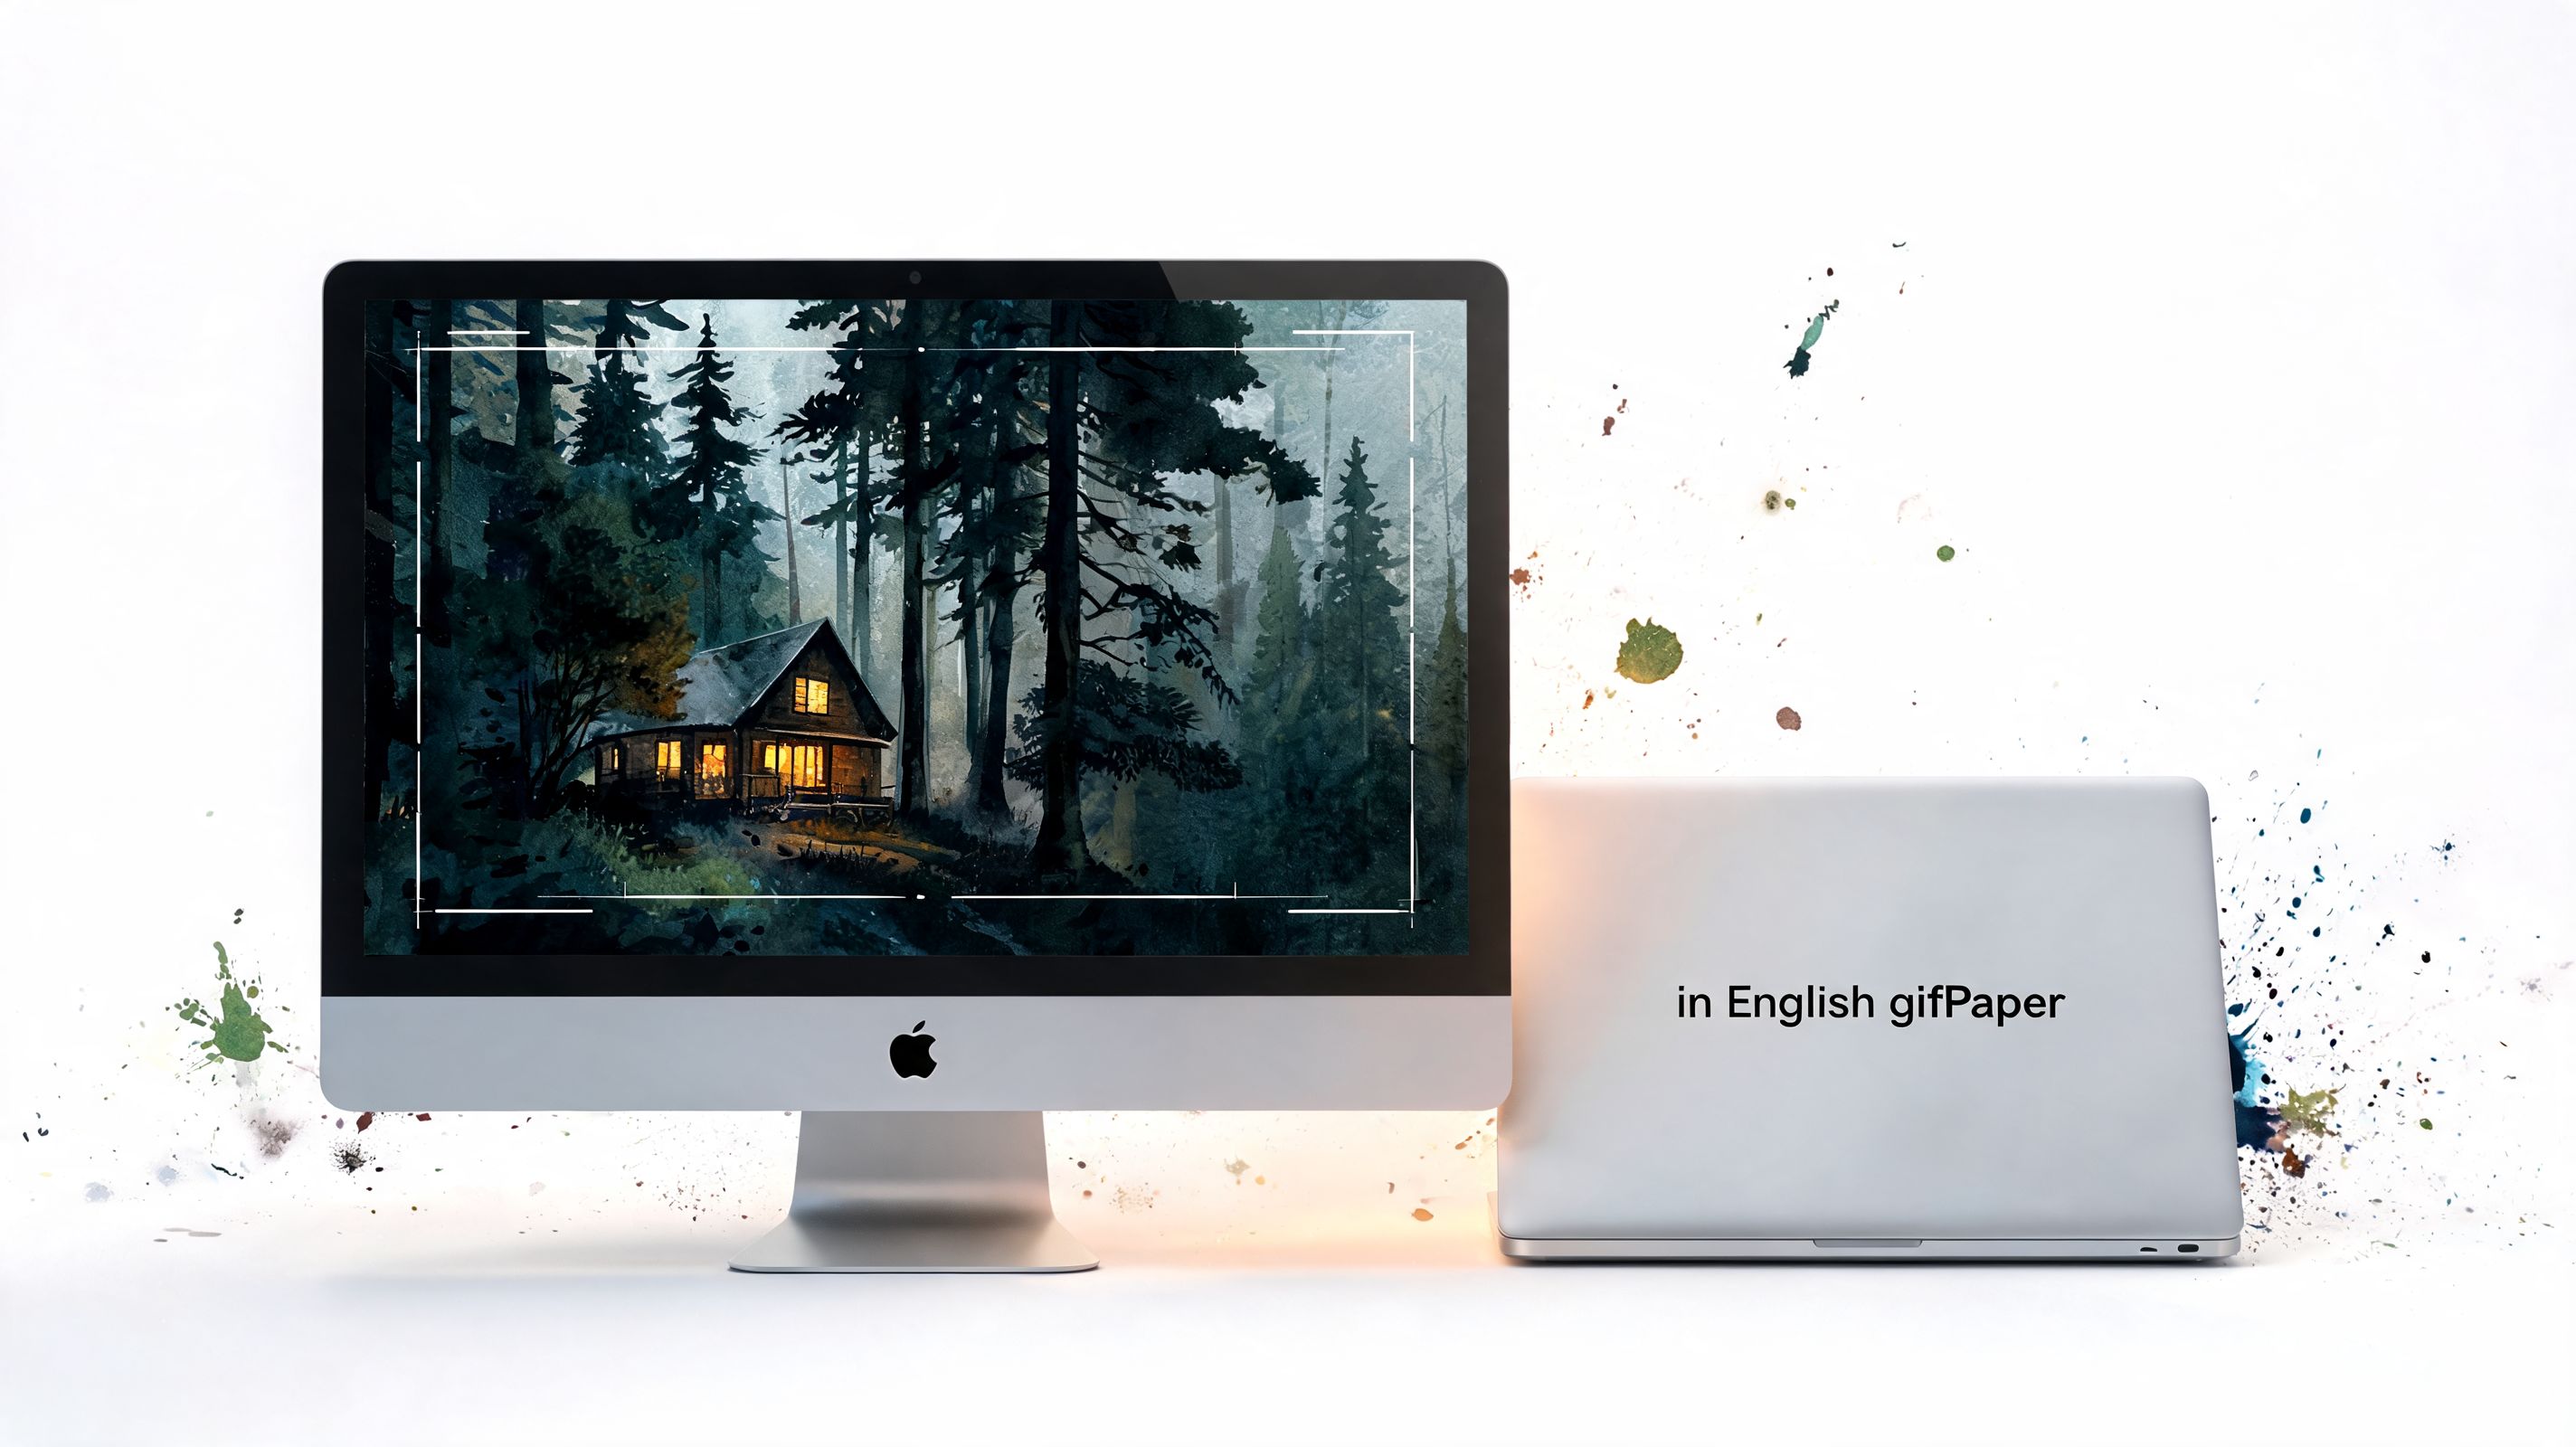
A monitor like this doesn't need hyper-clinical demo footage. It benefits from scenes that suit the hardware. Low-key motion, moody lighting, soft loops, nighttime city shots, cabins, rain, space, minimalist geometry. The display's age is a lot easier to forgive when you stop asking it to impersonate a brand-new HDR panel and start letting it be a stylish old thing with taste.
What looks best on this screen
Live wallpapers work well when you prepare them for the display's native shape and keep the composition simple. Busy footage with lots of edge detail can feel cramped. Slower motion and stronger central framing usually look better.
If you want to prep footage so it feels more at home on older hardware, a vintage video processing tool can be a fun way to soften the clinical sharpness of modern source clips. Used lightly, it can make a loop feel intentional instead of "new video awkwardly stuffed into old glass."
A practical setup flow is:
- Choose a scene that suits 16:10
- Crop it cleanly to 1920 x 1200
- Test motion at normal desktop distance
- Avoid hyper-saturated reference-style expectations
For Mac-specific setup steps, this guide on how to get live wallpapers on Mac covers the current side of the equation better than any old forum thread full of extinct utilities and emotional support dongles.
If you're picking wallpaper styles, darker scenes and calmer loops usually flatter vintage panels best. A browse through content tagged for dark, moody, or retro aesthetics is a good place to start if your goal is "make this old Apple display feel less like office surplus and more like set dressing from a tasteful sci-fi apartment."
If you've gone through the trouble of making a 23-inch Apple Cinema Display behave in 2026, you might as well give it something worthy to show. gifPaper is my Mac app for live wallpapers on the desktop, lock screen, and screen saver, using Apple's native Aerial wallpaper format instead of a hacky overlay. It's a direct download, notarized by Apple, with a 7-day free trial, a $4.99 one-time purchase, and a 30-day money-back guarantee. Requires macOS 26 or later. Your desk is already committing to the bit. It may as well look excellent.