
Mastering Your 3 Monitors MacBook Pro Setup
You bought a MacBook Pro, plugged in monitors like a civilized person, and discovered Apple has some very specific opinions about how many rectangles you're allowed to enjoy at once.
That's the whole mess with 3 monitors macbook pro setups. It isn't mainly about the dock. It isn't mainly about the cable. It isn't because you forgot a secret checkbox in Settings. It comes down to the chip inside the machine and the way Apple carved up display support across the lineup.
So yes, you can absolutely build the triple-screen desk that makes you look like you're tracking satellites when you're just moving Slack to the side monitor. But the path is different depending on whether you have a base M-series MacBook Pro or a Pro/Max chip. One route is clean and native. The other is a workaround involving DisplayLink, drivers, and a small amount of accepted nonsense.
So You Want a Triple-Monitor Command Center
Three external monitors are not excessive. They're practical. One screen for the thing you're working on, one for reference, one for the stuff that keeps interrupting your life. That's not decadence. That's survival with better ergonomics.
The annoying part is that Apple's marketing pages don't always make this feel obvious. "Supports external displays" sounds reassuring until you find out your exact model supports fewer than you assumed. Then the dock rabbit hole begins. Suddenly you're reading forum posts at midnight written by people who have names like ThunderGuy74 and very strong feelings about USB-C.
Practical rule: Before you shop for docks, check your chip. The chip decides the category of solution. The dock just fills in the details.
There are really only two sane paths:
- Native path: If you have an M Pro or M Max machine, you may be able to run three external displays without software tricks.
- Workaround path: If you have a base M-series MacBook Pro, you'll likely need DisplayLink to get to three external screens.
A lot of guides blur those two paths together, which is how people waste money on hubs that were never going to solve the problem. Cheap USB-C accessories love promising a lot. Physics remains unimpressed.
If your goal is a clean 3-monitor setup, the move is simple. Identify the chip first. Then choose hardware that matches reality, not packaging copy written by someone who has never tried to run three 4K displays off one laptop.
The Great Chip Divide: Why Your Mac Hates Your Monitors
The easiest way to understand this mess is to stop thinking in terms of "MacBook Pro" and start thinking in terms of chip tier. Apple sells machines that look similar, cost enough to sting, and have very different display limits.
According to BenQ's overview of Mac display support, base M1 and M2 chips supported only one external display, the M3 added support for two in clamshell mode, the base M4 supports two 6K monitors, and the M4 Max supports up to four external displays. That's the whole hierarchy in one grim little paragraph.
MacBook Pro native external display support
| Chip Family | Base Chip (M1, M2, M3, M4) | Pro Chip (M1/M2/M3/M4 Pro) | Max Chip (M1/M2/M3/M4 Max) |
|---|---|---|---|
| Native external display support | M1 and M2 support one external display. M3 supports two in clamshell mode. M4 supports up to two 6K external monitors. | Early Pro chips like M1 Pro and M2 Pro were capped at two external displays. M3 Pro can natively drive three external monitors in clamshell mode. | Early Max chips handled three external displays. M4 Max supports up to four external displays. |
That table is the answer often sought from the start.
What changed across generations
Apple has expanded display support over time, but not evenly. The biggest glow-up happened at the base-chip level. Early Apple silicon was brutally restrictive there. Pro and Max models always had more breathing room, but Apple still kept clear tiering between them.
That tiering is deliberate. It's not some mysterious software bug waiting for a patch. If you want more outputs, Apple wants you climbing the chip ladder.
For a quick model-by-model sanity check, this guide on the 13-inch MacBook Pro display situation helps clarify where the smaller and base-tier machines fit into the mess.
Apple didn't make one display policy for all MacBook Pros. It made several, then hid them behind similar product names.
The takeaway that saves money
If you have a base M1 or M2 MacBook Pro, native triple external monitors are not on the menu.
If you have a base M3, you still need a workaround for three external displays.
If you have an M Pro or M Max machine, your odds improve a lot, especially in clamshell mode.
That's why people can own two "MacBook Pro" laptops and have completely different outcomes with the same dock. The box says MacBook Pro. The silicon says otherwise.
Path 1: Native Support for M Pro and M Max Chips
If your machine has a Pro or Max chip, congratulations. You bought the version Apple expects to sit on a desk with multiple displays attached.
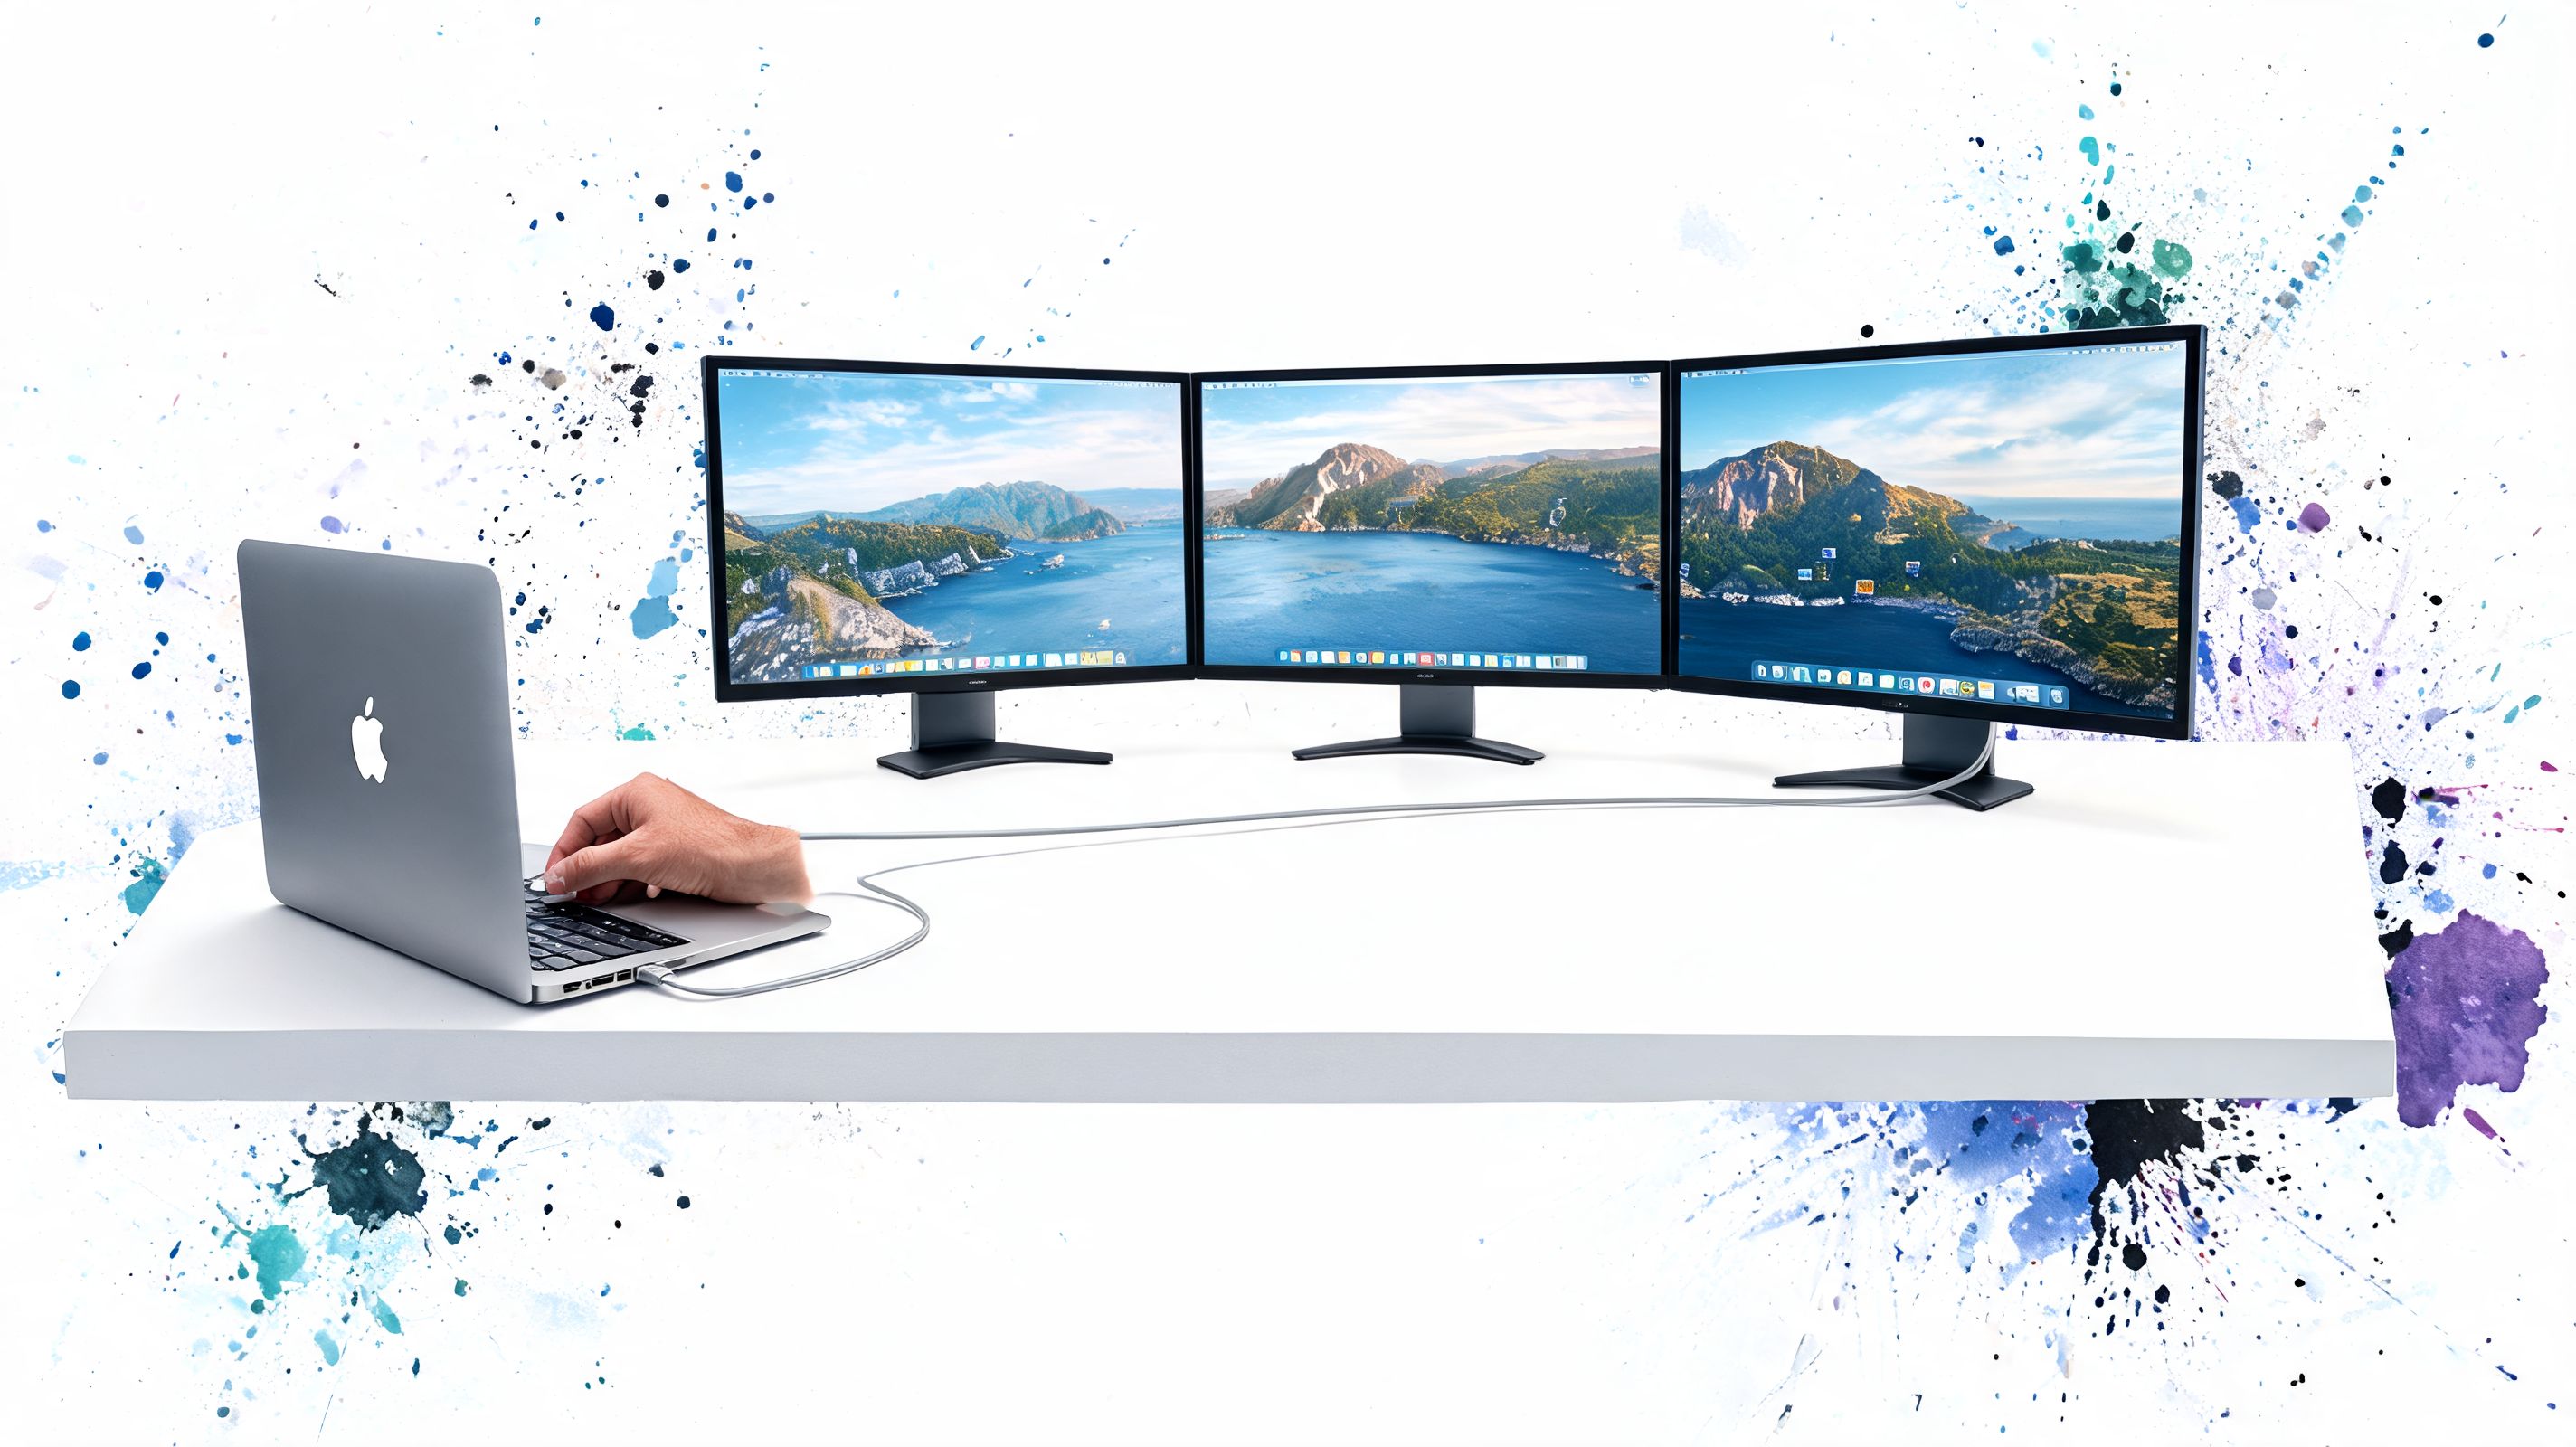
The cleanest example is the M3 Pro MacBook Pro. In the Apple Discussions thread covering this setup, users note that an M3 Pro MacBook Pro can natively drive three external monitors in clamshell mode with a Thunderbolt 4 dock. The key detail is the lid being closed. When the built-in display is off, the system can allocate that video output to an external screen.
What native actually means here
Native means macOS treats those displays like first-class citizens. No DisplayLink driver. No software-rendered extra screens. No "why did one monitor stop existing after sleep" ritual as your morning exercise.
That matters if you care about reliability, motion smoothness, or doing anything visually demanding. Native is always the cleaner route when your hardware supports it.
How to set up three external monitors natively
For Pro and Max models, the process is straightforward:
-
Confirm your chip Open About This Mac and make sure it says M Pro or M Max, not just M1, M2, M3, or M4.
-
Use the right outputs Connect through the ports your machine and dock are designed to use. Thunderbolt and HDMI both matter here. Don't assume one cable into a random hub will somehow fan out into a proper triple-display setup.
-
Close the lid if your model needs clamshell mode On machines like the M3 Pro, clamshell mode is the trick that frees the internal display pipeline for another external monitor.
-
Connect power, keyboard, and mouse Clamshell mode works best when the laptop is powered and has external input devices attached.
-
Arrange displays in macOS Once all screens show up, set their layout so your cursor moves the way your brain expects.
Native setup rules that actually matter
- Use a real Thunderbolt dock if you're docking through one cable. A proper dock handles the job cleanly. Random USB-C hubs often do not.
- Treat HDMI as one of your available outputs, not a backup afterthought. On supported models, it's part of the display budget.
- Don't leave the lid open if your exact model needs clamshell mode for the third screen. The laptop screen counts.
If your Mac can do three displays natively, don't sabotage it with workaround gear. Keep it simple.
For a lot of people, this is the best version of the 3 monitors macbook pro setup. Fewer moving parts. Fewer drivers. Less drama. Apple still made you earn it, but at least this route behaves like a premium laptop should.
Path 2: The DisplayLink Workaround for Everyone Else
You buy the dock with the heroic product page, connect three monitors, and macOS still acts like one of them does not exist. That is the base-chip MacBook Pro experience in a nutshell.
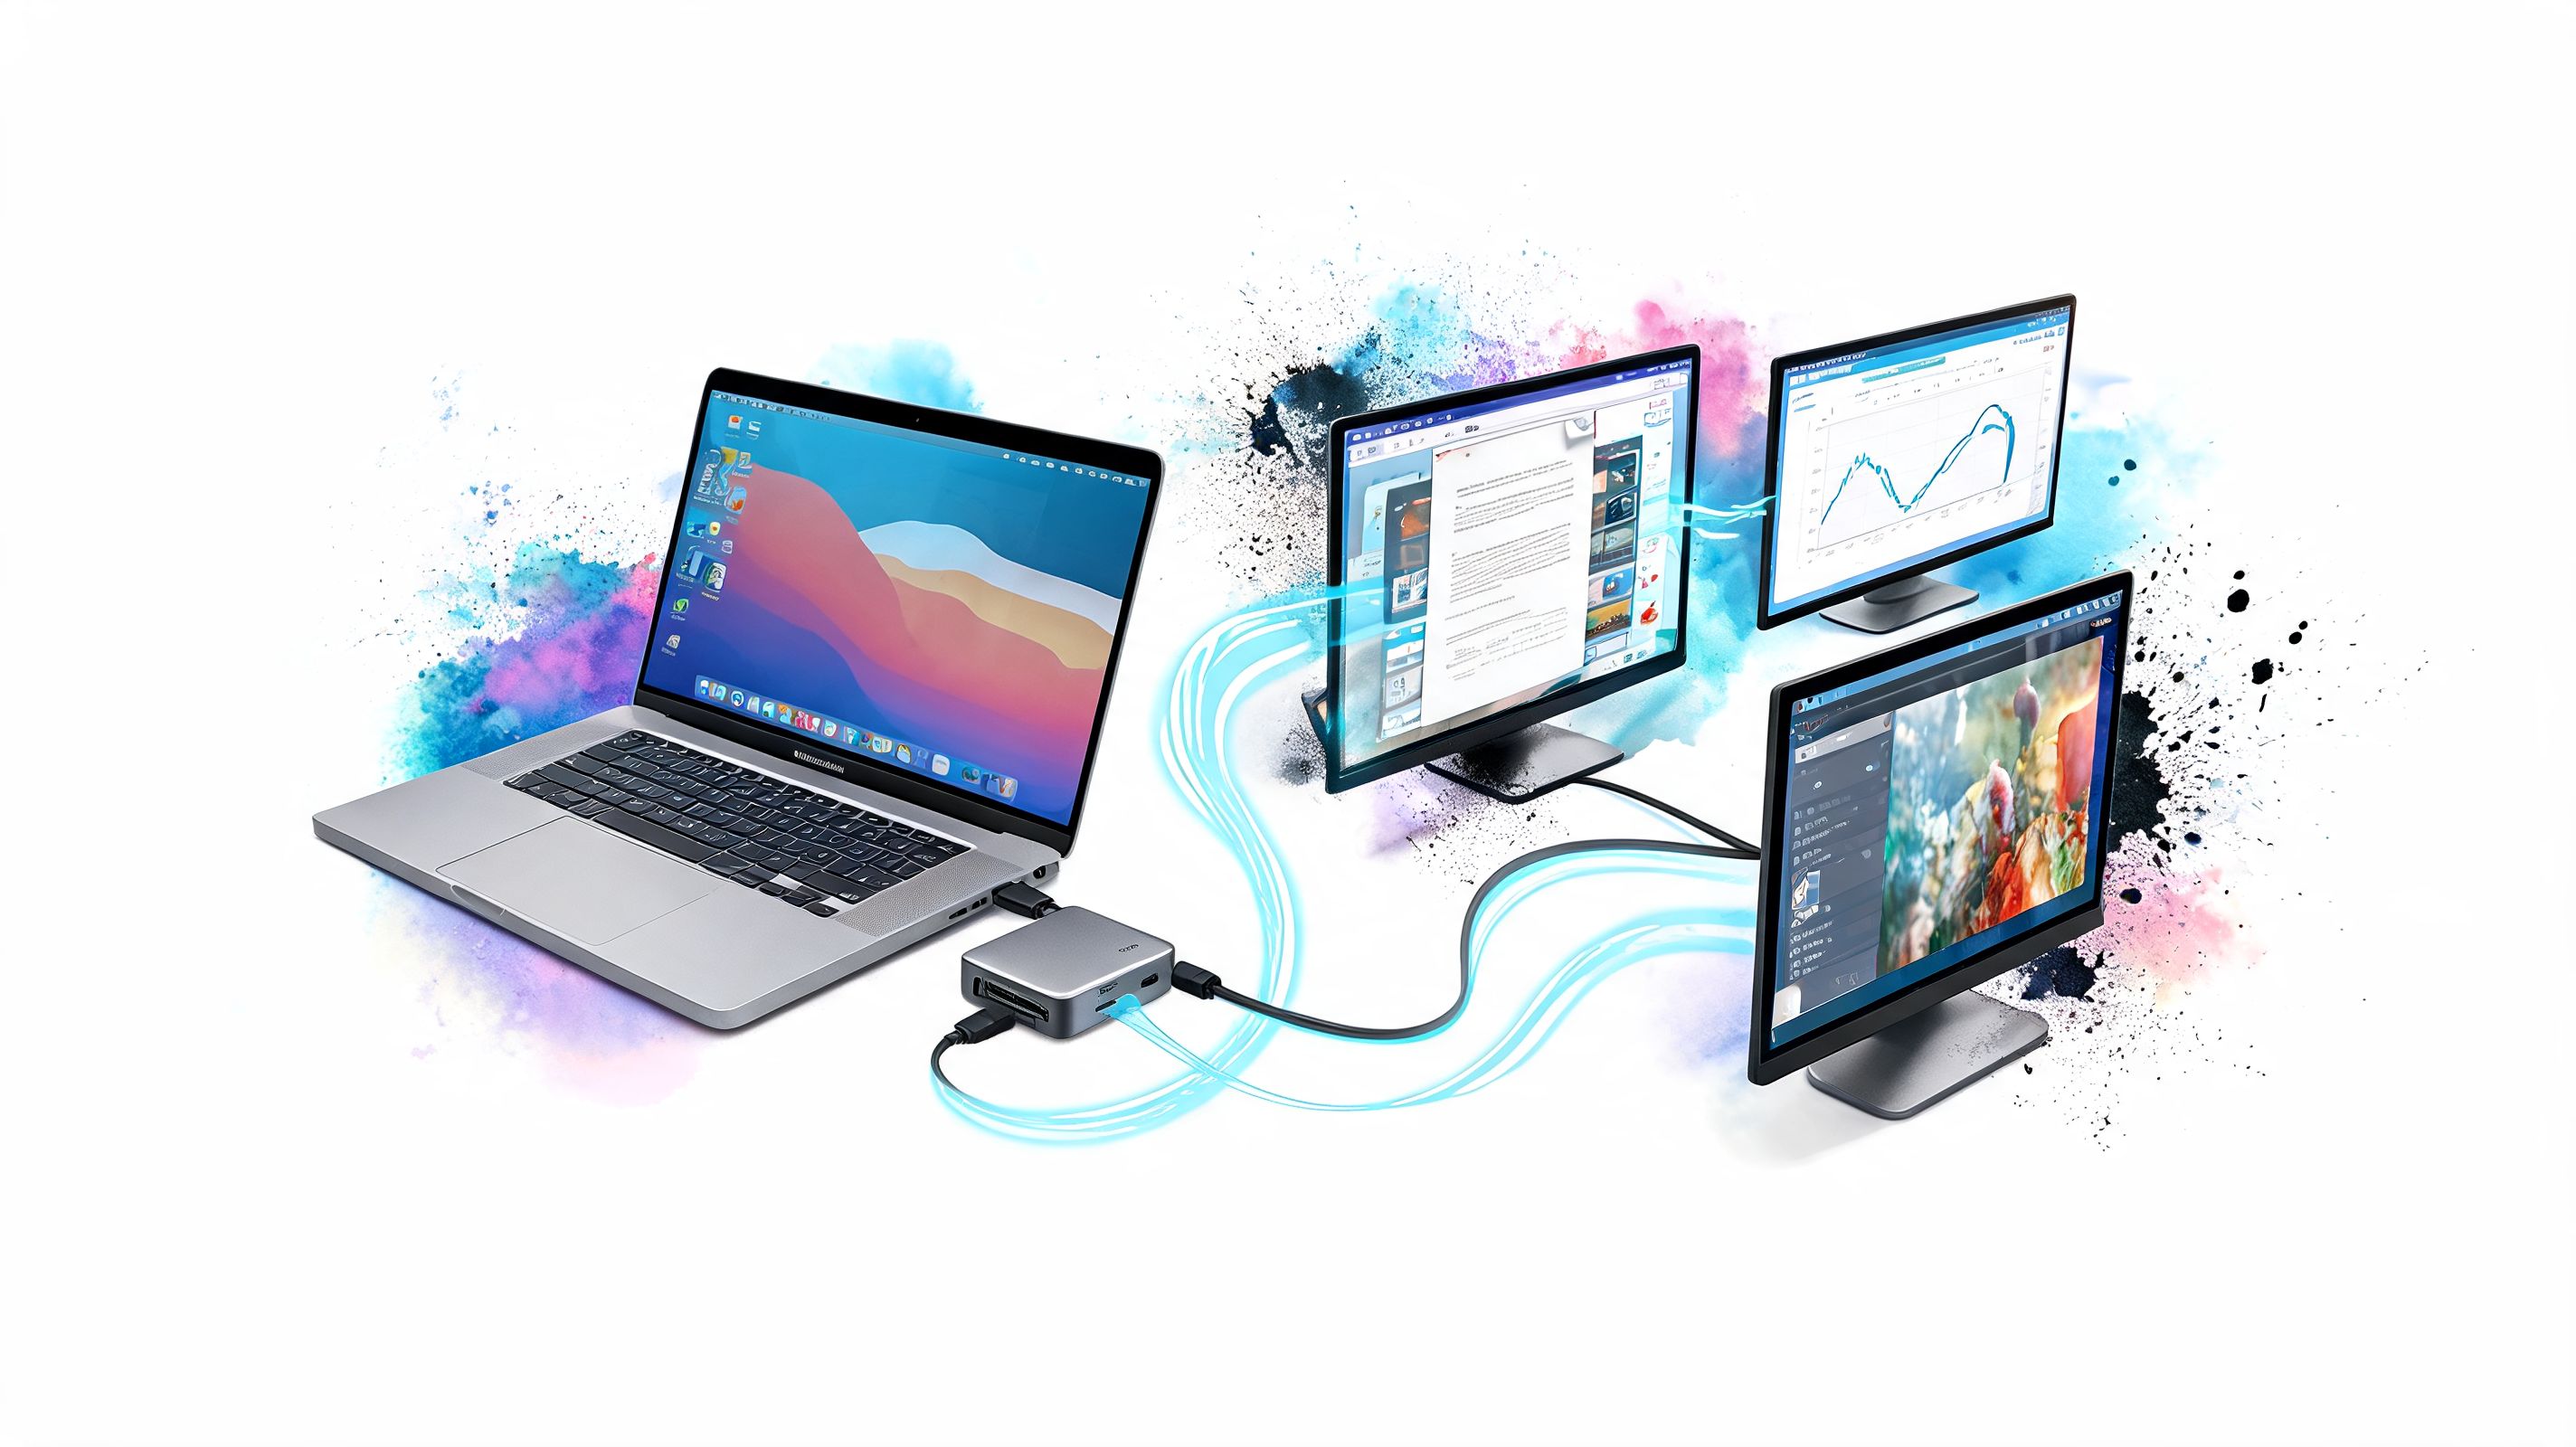
Apple's native display limits are tied to the chip's display engine, not to how many ports you can physically plug into. That is why a base M3 MacBook Pro can have plenty of USB-C confidence on paper and still stop at one native external screen. Plugable documents that you can reach three external displays with a DisplayLink dock such as the UD-ULTC4K plus DisplayLink Manager, because DisplayLink adds a separate path around that native limit.
That distinction matters. DisplayLink is a workaround, not extra native Thunderbolt magic. The dock contains its own processing, the driver handles the translation layer, and the Mac sends compressed display data instead of handing off another clean hardware video output. If you understand that, the weird behavior makes a lot more sense.
What DisplayLink is doing behind the curtain
DisplayLink gets you more screens by shifting part of the job from Apple's built-in display pipeline to a mix of software compression and dock hardware. macOS can then present extra displays that the base chip could not drive on its own.
Useful? Yes.
Identical to native output? No.
For office work, admin panels, docs, chat, spreadsheets, browser tabs, and code on a side display, it is usually good enough. For color-critical work, high-frame-rate motion, HDCP-protected content, or anything latency-sensitive, it is the compromise path. That is not a dealbreaker. It is just the bill for beating Apple's artificial-feeling limits without buying a more expensive machine.
How to get three monitors working with DisplayLink
The setup is straightforward if you do it in the right order:
-
Install DisplayLink Manager first
macOS will not sort this out on its own. -
Use a dock that explicitly supports DisplayLink
Product photos full of ports mean nothing. The spec sheet has to say DisplayLink. -
Connect monitors based on the dock's display map
Some outputs use native passthrough. Others rely on DisplayLink. Mixing them up is a good way to waste an hour. -
Use the correct host cable and port
Bad USB-C cables cause absurd problems. Use the cable that came with the dock, or one rated for the job. -
Approve the macOS permissions DisplayLink needs
Screen Recording access is part of the setup. Without it, the extra displays may not render properly. -
Restart if detection is flaky
Boring advice, still valid. -
Arrange everything in Display settings
Turn off mirroring if needed, then place the monitors where your cursor expects them to be.
Who should use this path
This route makes sense for people who already own a base-chip MacBook Pro and want a real three-monitor setup at a desk. It is the practical answer for writing, research, support work, finance, project management, coding, and general multitasking. It also explains why so many "triple display" setups look fine in a product listing and fall apart in real life. The dock is not creating native monitor support out of thin air. It is sidestepping the chip limit with compression and a driver.
There is also a nice side effect once the technical part is stable. A triple-monitor setup stops feeling like a pile of adapters and starts feeling like a workspace you chose on purpose. If you care about the look of the desk as much as the screen count, gifPaper can add live wallpapers across connected displays on supported systems, which is a lot better than staring at three stock macOS gradients all day.
DisplayLink is the fix for people Apple left out. It works, as long as you go in knowing why it works and where the compromises are.
Choosing Your Weapon: Docks, Adapters, and Cables
People often burn cash by buying a cheap hub with a heroic product title, plugging in three monitors, and then acting shocked when only one lights up properly.
The reason is not subtle. As Plugable explains in its support article, a single Thunderbolt 3 or 4 port tops out at 40Gbps, and daisy-chaining or hubs do not increase the number of displays you can connect. That bandwidth ceiling is the wall. The dock doesn't remove the wall unless it's doing something special, like DisplayLink compression, or unless the Mac is using multiple native output paths.
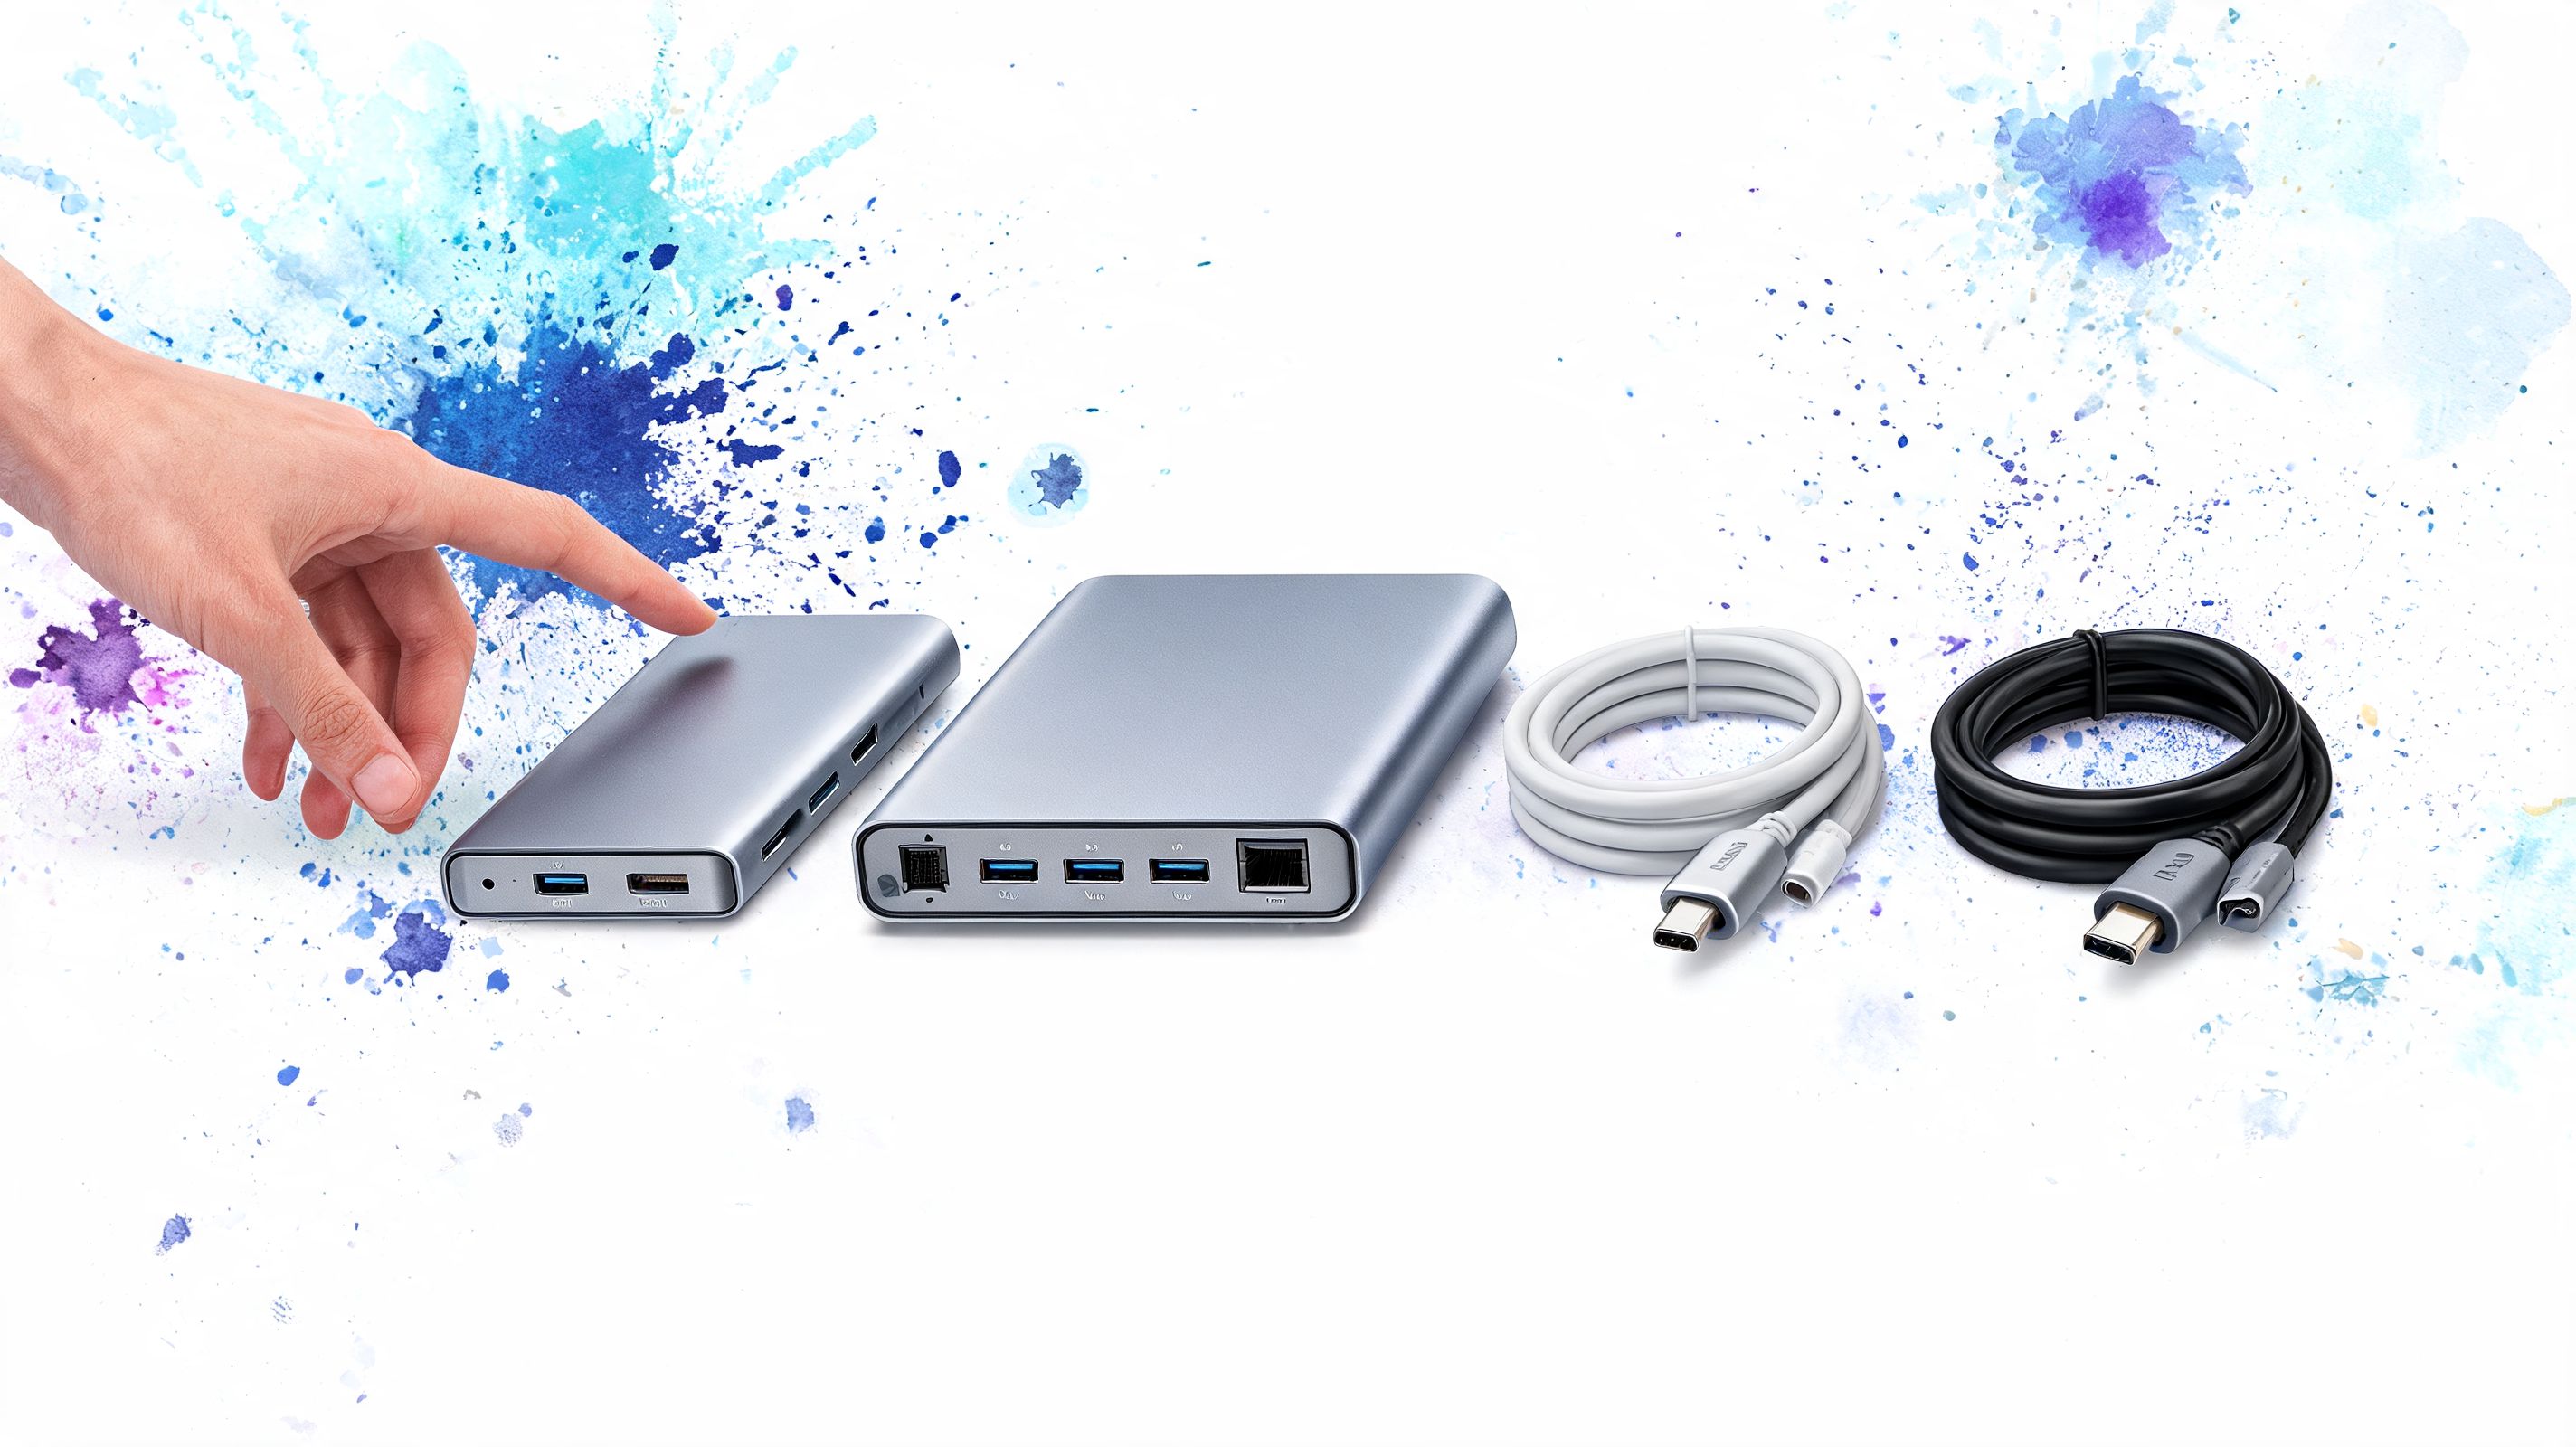
Hub versus dock versus actual solution
Here's the version that would've saved a lot of people some irritation:
| Gear type | What it usually does | Good for 3 monitors macbook pro? |
|---|---|---|
| Cheap USB-C hub | Adds ports, maybe one display output | No, not as a reliable triple-monitor solution |
| Thunderbolt dock | Expands native connectivity and uses proper display paths | Yes, for supported Pro/Max native setups |
| DisplayLink dock | Uses a driver and compression to add extra displays | Yes, for base-chip workaround setups |
A cheap hub is fine for USB ports, SD cards, and maybe one display. It is not a magic display multiplier.
What to buy based on your Mac
-
If you have an M Pro or M Max machine Buy a real Thunderbolt dock if you want one-cable desk convenience, or connect displays directly across the available ports if your workflow allows it.
-
If you have a base M-series machine Buy a DisplayLink-certified dock. "USB-C dock" isn't specific enough. The listing must say DisplayLink support.
-
If you're tempted by daisy-chaining Don't assume it changes the Mac's native display count. Apple's own support stance, as summarized in the Plugable article above, is that supported hubs and daisy-chaining don't increase the maximum number of displays.
Cable sanity check
Cables are the least exciting part of the setup and still manage to ruin it.
A bad cable can impersonate a bad dock, a bad monitor, or a bad Mac. It's annoyingly talented.
Use cables that match the dock's and monitor's supported standards. If your setup is flaky, don't only blame the dock. Cables fail in boring, time-wasting ways, which is very on brand for desk hardware.
The Price of Power, Performance, and Pitfalls
Here's the part most "just buy this dock" guides glide past.
DisplayLink works, but it isn't free. According to the benchmark-focused discussion in this YouTube analysis of DisplayLink trade-offs, DisplayLink can introduce 100-300ms of latency, which can show up as noticeable stutter in fast-moving video or rapid cursor movement. For productivity work, many people accept that. For gaming or precise video editing, it can be a dealbreaker.
Where the compromise shows up
If your extra screens are holding docs, browser tabs, chat, notes, or dashboards, DisplayLink is usually fine. The moment you ask those screens to handle motion-heavy content, the illusion starts to crack.
That's why a setup can feel perfectly good for work and oddly mushy for anything visual. It isn't your imagination. It's the cost of getting around a native hardware limit with software.
Native and DisplayLink are not interchangeable
People often compare them like they're two equal methods. They aren't.
- Native outputs feel direct and predictable.
- DisplayLink outputs are a workaround with overhead.
- Heavy visual work exposes the difference quickly.
- General office use often hides it well enough.
If your desk doubles as a creative workstation, read this guide on monitor performance on Mac before you commit to a driver-based setup.
The question isn't "Can DisplayLink do it?" The real question is "Can DisplayLink do it for the kind of work I actually do all day?"
Common frustrations worth expecting
Sleep and wake behavior can get weird. Driver updates can become part of your life. macOS updates sometimes mean waiting for software compatibility to catch up. None of this makes DisplayLink useless. It just means you should treat it like a workaround, not a miracle.
That honesty matters. If you only need more room for productivity apps, it can be a smart fix. If you want flawless motion on every panel, native support is still the gold standard.
Your Triple-Monitor Throne Room Awaits
Once the cables are sorted and the screens finally stop impersonating a support ticket, the fun part starts.
A triple-monitor desk changes how a MacBook Pro feels. It stops being just a laptop you dock at home and starts acting like a real workstation. More space, less window shuffling, less nonsense. You went through all this trouble for a reason.
Now make it look like something.
A wide space wallpaper collection works absurdly well across multiple displays. Same with the fireplace wallpaper collection, if your goal is "quiet winter cabin" rather than "mission control for tax documents." You can also steal ideas from this roundup of work from home desk setup ideas if your current aesthetic is still "three black rectangles and a coffee stain."
You're going to look at these screens for hours anyway. Might as well make the command center worthy of the trouble it took to build.
If you want the finished setup to feel less like office equipment and more like a place you enjoy sitting down at, gifPaper is the Mac app I make for that exact purpose. It sets live wallpapers on your Mac desktop, lock screen, and screen saver using Apple's native Aerial wallpaper format. There's a 7-day free trial on gifPaper for Mac, it's a $4.99 one-time purchase, not a subscription, and it's built for people who spend all day staring at screens and would prefer those screens had a little life.